There is a very specific moment that almost everyone experiences after setting up their balcony with plants, chairs, or even a small table, and that moment comes when you finally sit down to relax only to realize that the space does not feel private at all, because nearby buildings, neighbors, or even street views make the area feel exposed and uncomfortable, which completely defeats the purpose of having a personal outdoor space, and this is exactly where a modern slatted wood privacy screen becomes more than just a decorative addition, because it allows you to create a sense of enclosure and calm without completely blocking light or airflow, transforming your balcony into a place where you can actually sit, work, or relax without feeling watched or distracted.
Understanding the Real Problem
If you carefully observe most urban balconies, you will notice that the biggest issue is not the size of the space but the lack of thoughtful design elements that provide both privacy and openness at the same time, because solid walls can feel too closed and restrict airflow while open railings leave everything visible, which creates a situation where you either sacrifice comfort for openness or privacy for ventilation, and this imbalance is what makes many balconies underutilized, since people tend to avoid spaces where they do not feel comfortable or secure, highlighting the need for a solution that balances both aspects effectively.
The Concept of Slatted Wood Design
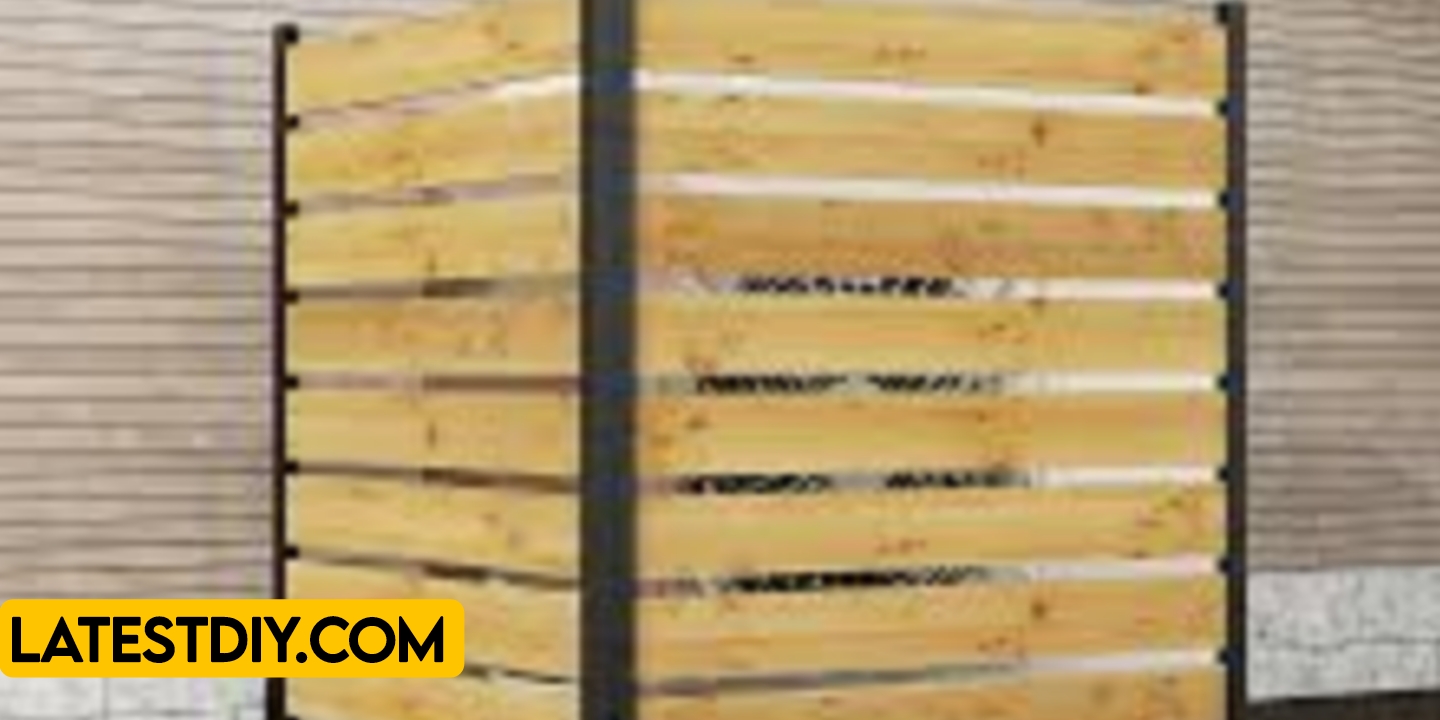
The idea behind a slatted wood privacy screen is based on a very simple yet powerful principle, which is controlling visibility without completely blocking the environment, because evenly spaced wooden slats allow light and air to pass through while limiting direct lines of sight, creating a semi-private barrier that feels open rather than enclosed, and this design not only improves comfort but also adds a modern aesthetic that enhances the overall look of the balcony, making it feel like a carefully designed extension of your living space rather than just an afterthought.
Planning the Screen
Before starting the build, it is important to think about how much privacy you actually need and how the screen will interact with your existing balcony structure, because the spacing between slats, the height of the screen, and its placement all affect the final result, which means that a screen designed for complete privacy will have tighter spacing while one focused on aesthetics might use wider gaps to allow more light and visibility, and understanding these choices in advance ensures that the final build aligns with both your functional needs and visual preferences.
Exact Dimensions
Recommended Dimensions
Height: 5 to 6 feet
Width: 3 to 6 feet (depending on balcony size)
Slat Spacing: 0.5 to 1 inch
These dimensions are chosen because they provide enough coverage to block direct views while maintaining airflow and light penetration, ensuring that the space remains comfortable and usable.
Materials Selection
When building an outdoor privacy screen, the choice of material plays a crucial role in determining both longevity and appearance, because wood exposed to outdoor conditions must be able to resist moisture, sunlight, and temperature changes, which makes options like cedar, teak, or treated pine ideal choices since they offer natural resistance to decay and insects, and selecting straight, well-dried boards ensures that the slats remain stable and aligned over time without excessive warping or twisting.
Tools Required
Tools Needed
Saw (circular or miter saw)
Drill
Measuring tape
Level
Clamps
Sander
These tools allow you to achieve clean cuts, proper alignment, and a smooth finish, all of which are essential for a professional-looking result.
Cut List
Vertical Slats – Multiple pieces – 5 ft x 2 inches
Top Frame – 1 piece – width of screen
Bottom Frame – 1 piece – width of screen
Side Supports – 2 pieces – height of screen
Each piece contributes to the overall strength and alignment of the screen, ensuring stability and durability.
Step-by-Step Build Process
The process begins by cutting all frame components and slats to the required dimensions, ensuring consistency across all pieces because uneven lengths can affect the final appearance, after which the outer frame is assembled using screws and glue to create a मजबूत base structure, and once the frame is ready the vertical slats are attached one by one with equal spacing using spacers or measuring tools to maintain uniform gaps, ensuring that the final design looks clean and balanced, followed by sanding all surfaces to remove rough edges and applying a protective finish that enhances durability and visual appeal, resulting in a finished screen that is both functional and aesthetically pleasing.
Mounting Options
One of the most important aspects of this project is how the screen is mounted, because stability depends on proper installation, which means that depending on your balcony design you can either attach the screen directly to existing railings, secure it to the wall, or create a freestanding base that keeps it stable without permanent installation, and choosing the right method ensures that the screen remains safe and secure even under wind or movement.
Before vs After
Before
- Open and exposed balcony
- Lack of privacy
- Limited usability
After
- Private and comfortable space
- Improved aesthetics
- Better usability for relaxation
Comparison Table
| Feature | Solid Wall | Slatted Screen |
|---|---|---|
| Privacy | High | Moderate |
| Airflow | Low | High |
| Light | Blocked | Filtered |
| Aesthetic | Heavy | Modern |
Cost Breakdown
Estimated Cost
Wood – $50 to $120
Hardware – $10 to $20
Finish – $20
Total – $80 to $150
Pro Tips
Always use spacers while attaching slats to maintain consistent gaps, and pre-drill holes to prevent wood splitting, ensuring a clean and durable assembly.
Common Mistakes
One common mistake is uneven spacing between slats which ruins the visual appeal, and another is poor mounting which can lead to instability, especially in outdoor conditions.
Customization Ideas
You can stain the wood for a darker modern look, add LED lighting behind the slats for ambiance, or even integrate planters into the structure for a more natural aesthetic.
Real Use Scenarios
This privacy screen is ideal for apartment balconies, terraces, and small outdoor spaces where maintaining both privacy and openness is important for comfort and usability.
Conclusion
Building a modern slatted wood privacy screen is not just about blocking views but about creating a balanced environment where you can enjoy your space without compromise, because by combining thoughtful design with simple materials you can transform an exposed balcony into a comfortable and visually appealing retreat that enhances both your daily experience and the overall value of your space.
I’m Shubham, a professional carpenter with 11 years of experience in the craft. I specialize in turning high-quality wood into custom furniture, durable cabinetry, and precise structural work. For me, woodworking isn’t just a job—it’s about building things that last a lifetime


