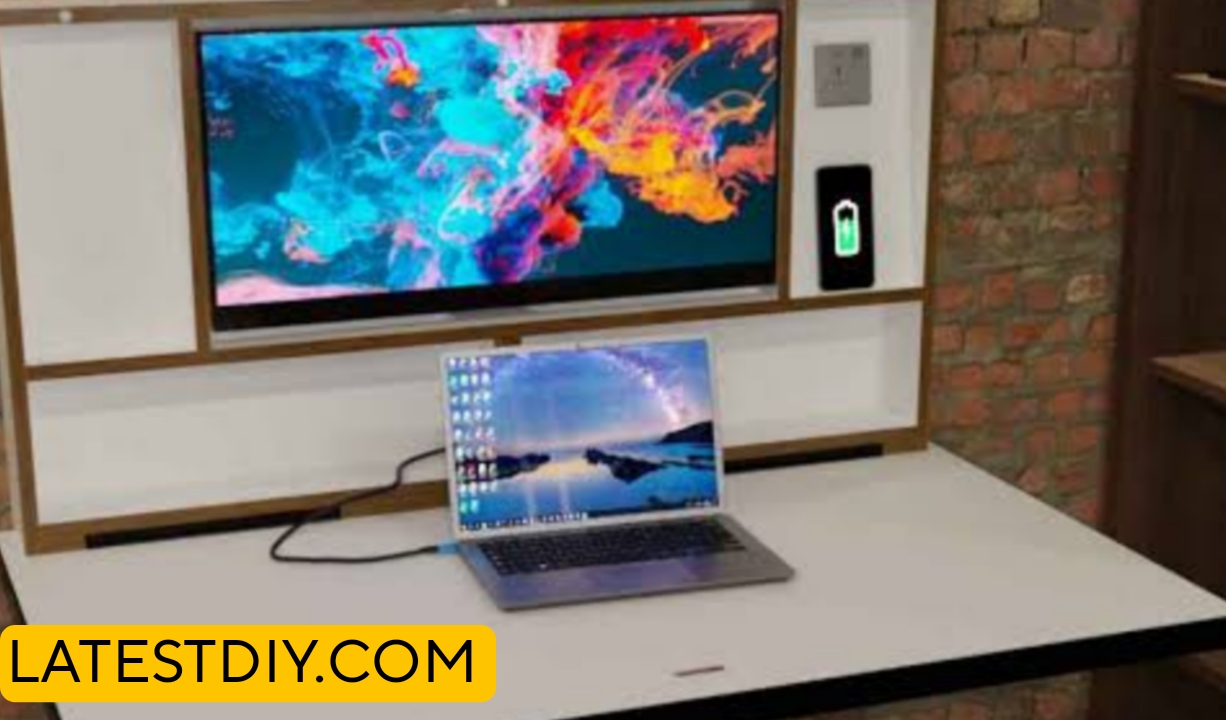
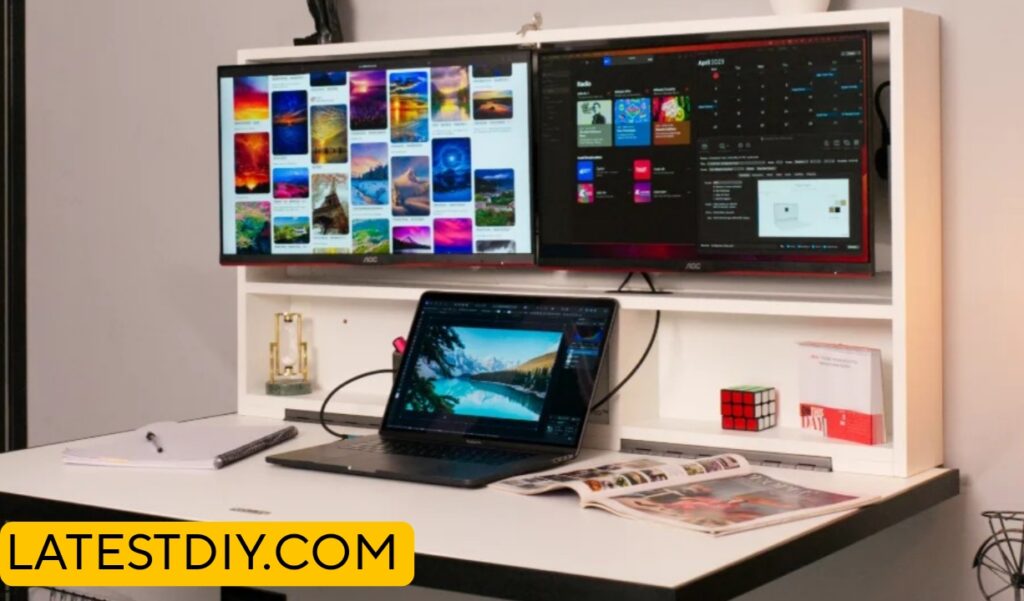
There comes a point in almost every workspace setup where a standard desk simply stops feeling enough, not because it fails to hold your equipment but because it starts limiting how your space feels and functions, especially when you move into a dual monitor setup where suddenly cables multiply, surfaces feel cluttered, and leg space becomes restricted, which is exactly where the idea of a floating “cloud” desk begins to make sense, because instead of treating a desk as a bulky piece of furniture that sits on the ground, you start thinking of it as something that can visually disappear into the wall while still providing full functionality, creating an illusion of lightness and openness that transforms the entire workspace into something cleaner, more modern, and significantly more efficient.
Understanding the Core Problem
If you look closely at most traditional desks used for dual monitor setups, you will notice that the biggest issue is not strength but space efficiency and visual clutter, because as soon as you add two monitors, a keyboard, a mouse, and possibly other accessories like speakers or a laptop, the surface quickly fills up, and underneath the desk you often find a mess of cables, power strips, and structural supports that reduce legroom, which not only makes the setup uncomfortable over long periods but also creates a visually heavy environment that feels crowded and unorganized, and this is exactly why a floating desk design becomes a better solution since it removes unnecessary bulk while focusing on clean support systems hidden behind or within the structure.
The Concept of a “Cloud” Desk
The term “cloud desk” does not refer to something fragile or soft but rather to the visual effect created when a desk appears to float effortlessly without visible support, and achieving this effect requires a combination of smart structural design and hidden reinforcement techniques, because while the desk must look minimal and lightweight it still needs to support significant weight from dual monitors and daily usage, which means that the real strength lies behind the scenes in the form of wall-mounted brackets, internal framing, or concealed supports that distribute the load directly into wall studs, allowing the desk to maintain both stability and the illusion of weightlessness at the same time.
Planning the Workspace (Where Design Meets Real Usage Needs)
Before building the desk, one of the most important steps is understanding how the workspace will actually be used on a daily basis, because a dual monitor setup requires specific considerations such as screen height, viewing distance, and available surface area for peripherals, which means that simply choosing a random size for the desk can lead to discomfort or inefficiency later, and instead you need to think about how much space each component will occupy, how you will manage cables, and how much room you need for movement, ensuring that the final design supports both productivity and comfort without compromise.
Exact Dimensions
Recommended Dimensions for Dual Monitor Setup
Width: 48 to 60 inches
Depth: 20 to 24 inches
Height: 28 to 30 inches (from floor)
These dimensions are carefully chosen because dual monitors require sufficient horizontal space to avoid feeling cramped, while a depth of at least 20 inches ensures proper viewing distance, and the height is based on ergonomic standards that allow comfortable typing and screen alignment without strain.
Materials Selection
When building a floating desk, the choice of material becomes even more critical than usual because the structure must support weight without relying on visible legs, which means that using high-quality plywood or solid hardwood is essential since these materials provide both strength and stability, and while plywood offers excellent dimensional stability and resistance to warping, hardwood adds durability and a premium finish, making it important to choose materials that balance structural performance with visual appeal.
Tools Required
Drill
Stud finder
Level
Measuring tape
Circular saw or table saw
Clamps
Sander
Each of these tools plays a specific role, because accurate measurements and proper alignment are crucial in a floating desk where even slight errors can affect stability and appearance, making precision more important than speed
Cut List
Desk Top – 1 piece – 60 x 24 x 1.5 inches
Support Cleats – 2 pieces – 50 x 3 x 1.5 inches
Side Supports – 2 pieces – 20 x 3 x 1.5 inches
These components form the core structure that ensures both strength and stability.
Step-by-Step Build Process
The process begins by locating the wall studs using a stud finder, because these points provide the structural strength needed to support the desk, after which support cleats are mounted securely into the studs using heavy-duty screws, ensuring that they are perfectly level and aligned, and once the base support is installed the desk top is placed and secured onto these supports, creating a strong and stable platform that appears to float, followed by sanding and finishing the surface to achieve a smooth and polished look that enhances both durability and aesthetics.
Hidden Cable Management
One of the biggest advantages of building a floating cloud desk is the ability to integrate hidden cable management directly into the design, which means that instead of having cables hanging loosely or cluttering the surface you can create channels or compartments underneath the desk where all wires are routed neatly, ensuring that the workspace remains clean and organized, and this not only improves the visual appeal but also makes maintenance easier since cables are accessible yet hidden from view.
Before vs After Workspace Transformation
Before
- Cluttered desk surface
- Visible cables
- Limited legroom
After
- Clean floating appearance
- Hidden cable system
- Open and spacious feel
Comparison Table
| Feature | Traditional Desk | Floating Cloud Desk |
|---|---|---|
| Space Efficiency | Medium | High |
| Visual Cleanliness | Low | High |
| Cable Management | Poor | Excellent |
| Aesthetic Appeal | Basic | Modern |
Cost Breakdown
Estimated Cost
Wood – $70 to $150
Hardware – $20 to $40
Finishing – $20
Total – $100 to $200
Pro Tips
Always anchor supports into wall studs because drywall alone cannot handle the load, and double-check leveling during installation since even slight misalignment becomes very noticeable in a floating design.
Common Mistakes
One of the most common mistakes is underestimating the weight capacity needed for dual monitors, and another is improper cable planning which leads to clutter even in a floating setup.
Customization Ideas
You can add LED lighting underneath for a true “cloud” effect, integrate wireless charging areas, or even extend the desk into a full floating workstation depending on your needs.
Real Use Scenarios
This desk is perfect for home offices, gaming setups, and compact workspaces where maximizing space and maintaining a clean aesthetic are equally important.
Conclusion
Building a floating cloud desk is not just about creating a functional workspace but about rethinking how furniture interacts with space, because by removing visual weight and integrating smart design elements you create an environment that feels open, organized, and highly efficient, proving that even a simple desk can completely transform the way you work and experience your space.
—
I’m Shubham, a professional carpenter with 11 years of experience in the craft. I specialize in turning high-quality wood into custom furniture, durable cabinetry, and precise structural work. For me, woodworking isn’t just a job—it’s about building things that last a lifetime


