Sometimes a small room or awkward L-shaped corner creates a big problem of wasted space, and before you realize it, that problem turns into one of the most clever and beautiful woodworking projects you have ever made. This build is exactly that kind of experience. The engineering, the clean minimalist look, the strong hidden support, and the entire process behind creating a DIY Floating Corner Desk feels modern, practical, and deeply satisfying.
This project is not just another desk. It is something far more special and far more useful. The goal here is to build a sturdy, wall-mounted floating corner desk that perfectly fits into L-shaped spaces, saves floor space, looks elegant, and gives you a large, comfortable work surface without any visible legs.
That means this project must balance two completely different worlds. On one side, there is beautiful woodworking, clean lines, and modern aesthetics. On the other side, there is serious structural engineering, strong hidden brackets, weight support, cable management, and safety features that must hold heavy monitors, laptops, books, and daily use without sagging or failing.
Welcome to this complete step-by-step journey of building your own DIY Floating Corner Desk for L-Shaped Spaces.
A few weeks ago, I was helping a friend organize his small home office. The room had an awkward L-shaped corner that was completely wasted. He needed a big desk for his dual monitors, laptop, and drawing tablet but didn’t want anything that took up floor space. That challenge became the perfect reason to design and build this floating corner desk. The result looks so clean and professional that it completely transformed his room.
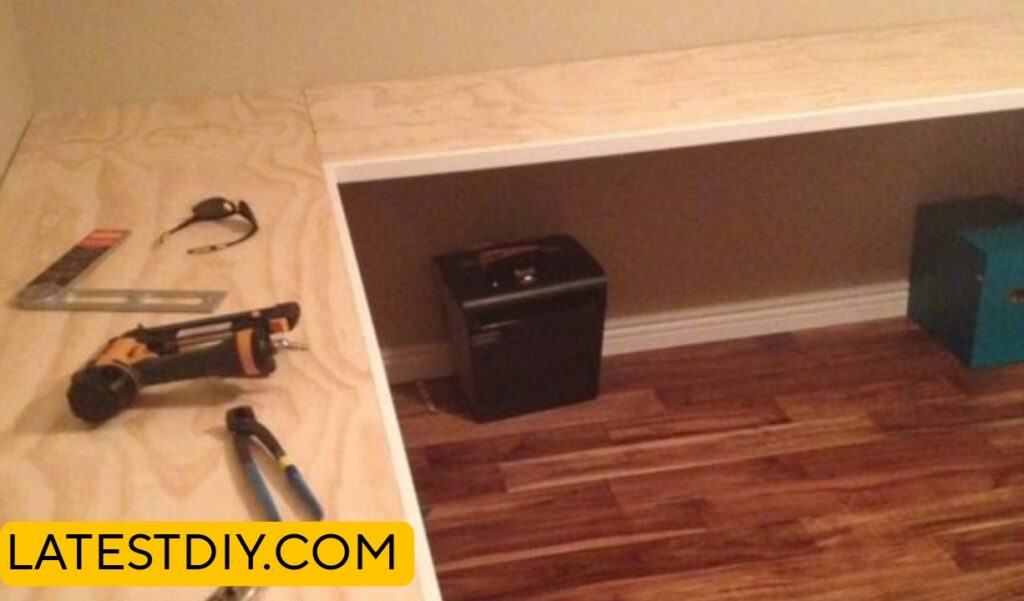
Before picking up any tools, there was something very important that had to happen first.
Why a Floating Corner Desk is Perfect for L-Shaped Spaces
Traditional desks need floor space and legs that get in the way. A floating desk mounts directly to the wall and appears to “float” with no visible support underneath. In L-shaped corners, this design is magical because it uses both walls for maximum strength while giving you a large triangular or L-shaped work surface.
The floating look makes the room feel bigger, cleaner, and more modern.
Understanding the Engineering Behind Floating Desks
A successful floating desk must handle 150–300+ lbs of weight. The secret is strong hidden brackets, solid wood construction, and proper attachment into wall studs. For a corner desk, the two walls work together to create excellent support. I designed this version as a 60″ x 60″ L-shape with a 24″ depth on both sides.
Materials and Tools Used
Main Wood:
3/4 inch premium plywood (cabinet grade) for the top
I measured the exact L-shaped corner — both walls, height from floor (30 inches is standard desk height), and available space. I decided on a 60″ x 60″ L-shape with rounded corners for safety and modern look. I drew detailed plans showing bracket placement and support frame.
Step 2: Building the Hidden Support Frame
This is the most important part for strength. I built two strong frames (one for each wall) using 2×6 lumber. These frames attach directly to the wall studs and create a solid base for the desktop. I used multiple heavy-duty brackets spaced every 16 inches.
Step 3: Cutting and Assembling the Desktop
I cut two large pieces of plywood — 60″ x 24″ each. Then I joined them at 90 degrees to form the perfect L-shape. I added hardwood edging all around for a thick, premium look. The joint where the two sides meet was reinforced with metal corner brackets underneath.
Step 4: Installing Cable Management and Features
I routed channels underneath for cables and power strips. I also added a small monitor stand riser and a keyboard tray option that can slide out.
Using a stud finder, I marked every stud. Then I carefully lifted the heavy desktop onto the support frame and secured it with screws from below. I checked level multiple times and adjusted for perfect alignment.
Step 6: Final Sanding and Finishing
I sanded all surfaces smooth, applied primer, and finished with two coats of durable matte paint. The clean white look made the desk appear even lighter and more floating.
Testing the Floating Corner Desk
After installation, I did serious testing:
Placed two monitors, laptop, printer, and books (total weight over 120 lbs)
Pressed down hard on every corner to check for movement
Used the desk daily for two weeks
Checked for any sagging after heavy use
Tested stability while typing and moving around
The desk stayed rock solid with zero movement — exactly what I wanted.
Benefits of This DIY Floating Corner Desk
Saves maximum floor space in small rooms
Perfect for L-shaped awkward corners
Creates a clean, modern, floating look
Very strong and stable when built correctly
Custom size and height possible
Much cheaper than buying similar desks
Easy to clean underneath
Improves room aesthetics dramatically
Great for dual-monitor setups
Boosts productivity in small spaces
Comparison Table
Feature
Floating Corner Desk
Regular L-Shaped Desk
Standing Desk
Wall-Mounted Shelf
Floor Space Used
None
High
Medium
Low
Looks
Modern & Floating
Traditional
Functional
Basic
Strength
Very High
Good
Good
Medium
Cost
$180–250
$300–600
$400+
$100
Customization
Fully Custom
Limited
Medium
Low
Cable Management
Excellent
Average
Good
Poor
Room Feel
Bigger & Airy
Crowded
Normal
Simple
Installation Difficulty
Medium
Easy
Medium
Easy
Challenges I Faced During the Build
Finding enough wall studs in the right places
Making the L-shaped joint perfectly strong and seamless
Lifting and mounting the heavy desktop alone
Keeping everything perfectly level on two walls
Hiding all brackets and screws completely
Every challenge made the final desk stronger and cleaner.
(FAQ)
1. How much weight can this floating desk hold? Properly built, it can easily hold 200–300 lbs.
2. Is it suitable for heavy dual monitors? Yes, this design was made for heavy setups.
3. What is the best height for a floating desk? 30 inches from the floor is standard and comfortable for most people.
4. How much did the complete project cost? Around $220 using good quality materials.
5. Can beginners build this? Yes, if you are comfortable using basic power tools and a level.
6. Will it damage the wall? No, if you screw into studs properly. It is very secure.
7. How long did the project take? About 18–22 hours spread over two days.
8. Can I make it longer or shorter? Absolutely. The design is easy to adjust for any L-shaped space.
9. What finish looks best? Matte white for modern look or natural walnut for warm feel.
10. Is it easy to remove or relocate later? Yes, you can unscrew and move it with minimal wall repair.
Conclusion
This DIY Floating Corner Desk for L-Shaped Spaces started as a simple problem of wasted corner space and turned into a stunning, functional piece of furniture that completely changed the room. Through careful engineering, strong hidden supports, and clean woodworking, we created a desk that appears to float while being incredibly strong and practical.
In small homes and apartments, every inch of space matters. This floating corner desk proves that you don’t need a big room to have a professional workspace. It gives you a large work surface, keeps the floor completely clear, and makes the entire room feel bigger, cleaner, and more organized.
Whether you work from home, study, game, or create content, this desk will improve your daily comfort and productivity. The best part is the pride you feel every time you sit down at something you built with your own hands.
If you have an awkward L-shaped corner that is currently empty or messy, I strongly recommend building this floating desk. The process is rewarding, the result is beautiful, and the extra space you gain will surprise you.
Opinion This project reminded me why smart space-saving furniture is so satisfying to build. It is not always about making big dining tables. Sometimes the most valuable projects are the ones that solve real problems in small homes. Seeing my friend’s face when he sat at his new floating desk with both monitors perfectly placed and plenty of room to work made all the effort worth it. This desk is more than wood and brackets — it is freedom and creativity unlocked in a small space.
I’m Shubham, a professional carpenter with 11 years of experience in the craft. I specialize in turning high-quality wood into custom furniture, durable cabinetry, and precise structural work. For me, woodworking isn’t just a job—it’s about building things that last a lifetime