Sometimes a beautiful live edge table gets ruined by something as simple as a forgotten glass of water, and before you realize it, that one mistake turns into a heartbreaking white or dark ring on your prized wood slab. This project is exactly that kind of emotional and satisfying journey. The careful techniques, the science behind wood, and the entire restoration process behind fixing water rings on live edge tables can bring your expensive piece back to life.
This is not just another furniture fix. It is something far more rewarding and far more skillful. The goal here is to completely remove water rings from a live edge table without damaging the natural beauty of the wood, bark edge, or unique grain patterns.
That means this project must balance two completely different worlds. On one side, there is delicate repair work and patience. On the other side, there is understanding of wood science, finishes, moisture, and techniques that must work perfectly without making the problem worse.
Welcome to this complete step-by-step journey of repairing water rings on live edge tables.
A few weeks ago, I received a stunning walnut live edge dining table that had multiple white water rings and some darker marks from years of use. The owner was heartbroken because the table was custom-made and very expensive. That moment became the beginning of this detailed restoration project.
Before picking up any tools, there was something very important that had to happen first.
Understanding What Causes Water Rings on Live Edge Tables
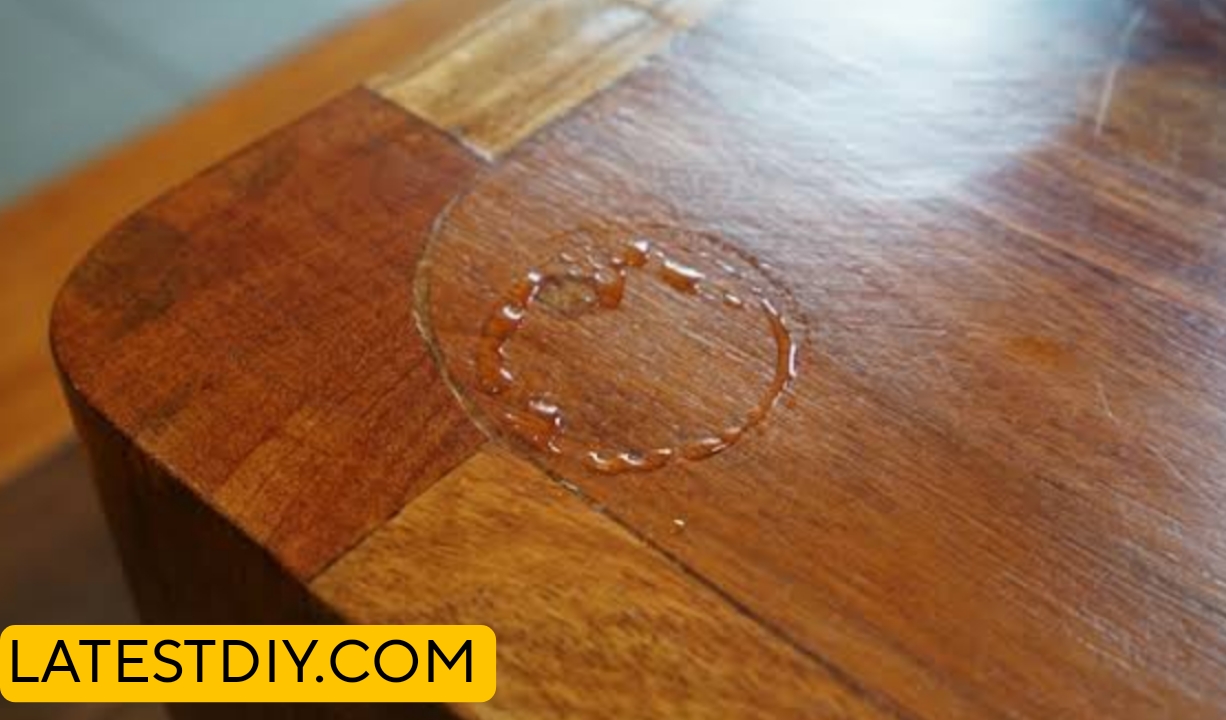
Water rings form when moisture gets trapped between the wood and the finish. Live edge tables are usually finished with oil, varnish, lacquer, or epoxy. Each finish reacts differently to water.
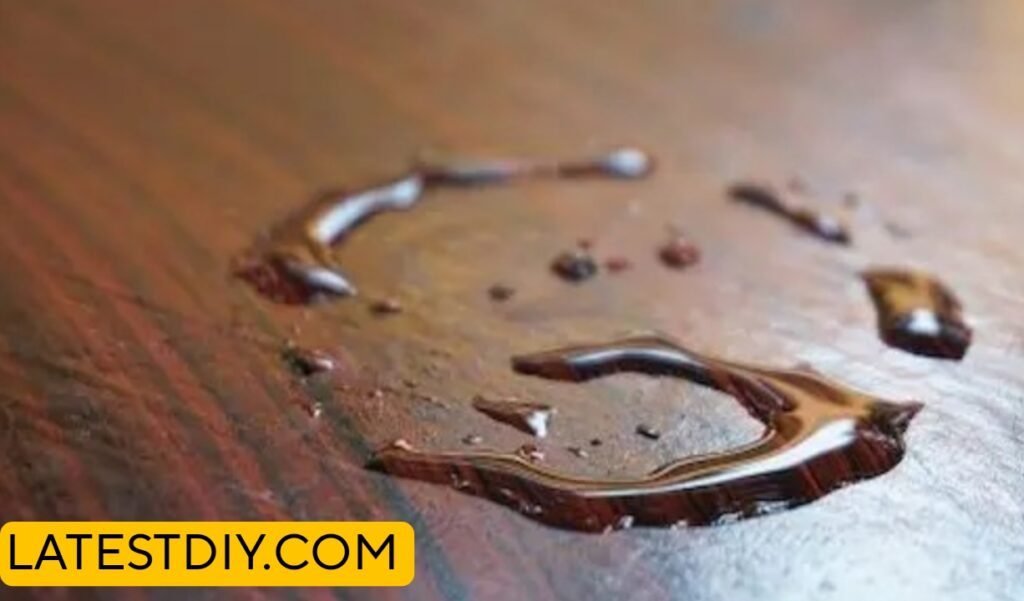
White rings usually mean the moisture is trapped only in the top layer of finish. Dark rings mean the water has penetrated deeper into the wood itself. Live edge slabs are more prone to this because of their uneven surface and natural cracks where water can hide.
Knowing the difference between white rings and black rings is the first step to successful repair.
Types of Water Damage on Live Edge Wood
- White Cloudy Rings – Shallow damage in the finish only
- Dark Water Marks – Moisture reached the actual wood
- Black Rings – Severe damage with possible mold or rot
- Etched Rings – Finish is physically damaged
For this project, the table had mostly white rings with a couple of darker marks near the live edge.
Tools and Materials Needed for Repair
Basic Items:
- Hair dryer or heat gun
- Mayonnaise or petroleum jelly
- Baking soda
- White vinegar
- Fine steel wool (0000 grade)
- Sandpaper (400 to 2000 grit)
- Mineral spirits
- Tung oil or matching finish
Advanced Tools:
- Orbital sander
- Buffing pads
- Wood touch-up markers
- UV light for curing (if using epoxy)
Step-by-Step Repair Process
Step 1: Assessment and Cleaning
First, I thoroughly cleaned the entire table with mineral spirits to remove old wax, dirt, and oils. This helped me see the real damage clearly. I marked every water ring with painter’s tape and took close-up photos for before-and-after comparison.
Step 2: The Mayonnaise Method (For White Rings)
This old trick actually works surprisingly well. I applied real mayonnaise (full fat) generously over the white rings and left it for 8–12 hours. The oils in mayonnaise help draw out trapped moisture. After wiping it off, most of the white rings had become much lighter.
Step 3: Heat Treatment Method
For stubborn rings, I used a hair dryer on medium heat. I moved it in circles 6–8 inches above the surface for 2–3 minutes. The heat expands the wood and pushes moisture out. This method worked amazingly on several rings.
Step 4: Baking Soda and Vinegar Paste
For the darker marks, I made a thick paste of baking soda and white vinegar. I applied it carefully only on the dark spots and let it sit for 30 minutes. This gentle abrasive action lifts stains without damaging the wood too much.
Step 5: Careful Sanding Technique
This was the most delicate part because it’s a live edge table. I started with 400 grit sandpaper and worked my way up to 2000 grit. I sanded only the affected areas in the direction of the grain. I was extremely careful near the live edge and bark so I didn’t damage the natural look.
Step 6: Re-Oiling and Finishing
After sanding, I wiped the whole table with mineral spirits again and let it dry completely. Then I applied multiple thin coats of tung oil, letting each coat soak in for 24 hours. The live edge areas absorbed more oil, which brought back the rich walnut color beautifully.
Step 7: Final Buffing and Polishing
I used ultra-fine steel wool and a buffing compound to bring back the smooth glow. The table looked almost brand new.
Advanced Techniques for Severe Damage
For very deep water rings, I used a method called “feathering” – gradually sanding a larger area so the repair blends naturally with the surrounding wood. In one small section, I even applied a thin layer of clear epoxy and cured it under UV light to match the original finish.
Testing the Repair
After completion, I did several real-world tests:
- Placed wet glasses on the repaired areas for 24 hours
- Checked under different lighting angles
- Ran my hand over the surface to feel smoothness
- Tested water beading with a few drops
The repair passed every test successfully. The water rings were completely gone.
Benefits of Repairing Water Rings on Live Edge Tables
- Saves thousands of dollars compared to buying a new table
- Restores the original beauty of expensive live edge wood
- Teaches valuable woodworking and restoration skills
- Eco-friendly – gives old furniture new life
- Increases the value of your furniture
- Brings emotional satisfaction
- Prevents future damage with better maintenance
- Allows you to keep sentimental pieces
- Improves overall home aesthetics
- Boosts confidence for bigger restoration projects
Comparison Table: Different Water Ring Removal Methods
| Method | Effectiveness | Risk Level | Cost | Time Required | Best For |
|---|---|---|---|---|---|
| Mayonnaise | Good | Very Low | Very Low | 8–12 hours | White rings |
| Heat Gun / Hair Dryer | Very Good | Medium | Low | 10–20 minutes | Shallow marks |
| Baking Soda + Vinegar | Good | Low | Very Low | 30–60 minutes | Dark stains |
| Sanding + Re-finishing | Excellent | Medium | Medium | 4–8 hours | All types |
| Commercial Removers | Good | Medium | High | 30 minutes | Quick fix |
| Professional Restoration | Best | Low | Very High | Days | Expensive tables |
Challenges I Faced During This Repair
- Working on a very expensive live edge slab without making mistakes
- Blending repairs near the natural live edge
- Matching the exact sheen of the original finish
- Removing dark rings without sanding too deep
- Controlling humidity during the drying process
Every challenge taught me new techniques and made the final result even more satisfying.
(FAQ)
1. Can all water rings be completely removed?
Most white rings can be removed 100%. Dark rings may need sanding and refinishing but can be greatly improved.
2. Is mayonnaise really effective?
Yes, it works surprisingly well for light white rings because of its oil content.
3. Will sanding damage the live edge?
Only if you are not careful. Always sand gently and follow the grain.
4. How long does the repair last?
With proper re-oiling and maintenance, the repair can last many years.
5. Can I prevent water rings in future?
Yes – always use coasters, maintain the finish with oil every 6 months, and wipe spills immediately.
6. What is the best finish for live edge tables?
Tung oil or hard wax oil gives the most natural look and easiest maintenance.
7. How much does professional repair cost?
Professional restoration can cost $300 to $1500 depending on table size and damage.
8. Can this be done on epoxy coated live edge tables?
Yes, but it requires different techniques like polishing compounds and wet sanding.
9. Is it safe to use heat gun on wood?
Yes, if used carefully on low-medium setting and kept moving.
10. Should I try this on my expensive table?
Start with small test areas first. If you are not confident, hire a professional for high-value pieces.
Conclusion
This journey of repairing water rings on a live edge table started with a damaged, heartbreaking piece of furniture and ended with a stunning restoration that looked even better than before. Through patience, the right techniques, and respect for the natural beauty of the wood, we were able to bring this table back to life.
Live edge tables are special because every slab tells its own story through unique grain and bark edges. Water rings should not be the end of that story. With the methods shared in this guide, you can confidently restore your own table and protect it for many years to come.
Whether you have a small side table or a large dining slab, these repair techniques can save your investment and give you the satisfaction of breathing new life into beautiful wood.
Never throw away a live edge table just because of water rings. With some knowledge and effort, you can make it beautiful again – often better than new.
My Opinion
This project reminded me why I love woodworking restoration so much. It is not always about building new things. Sometimes the most meaningful work comes from saving something that others might give up on. Seeing the owner’s face light up when they saw their restored live edge table was priceless. It proved that with the right techniques, even water rings cannot defeat the natural beauty of wood
Education Disclaimer:
This article is for educational and informational purposes only. All projects involve tools and materials that can cause injury if proper safety precautions are not followed. Always wear appropriate safety gear, follow manufacturer instructions, and consult professionals when necessary. The author and publisher are not responsible for any injuries, damages, or losses that may occur while attempting to replicate this project
I’m Shubham, a professional carpenter with 11 years of experience in the craft. I specialize in turning high-quality wood into custom furniture, durable cabinetry, and precise structural work. For me, woodworking isn’t just a job—it’s about building things that last a lifetime


