I have 4 days to complete the biggest project I’ve ever attempted, and that is building a giant timber frame staircase from a tree. This build technically started about four or five years ago when I asked my friend Aaron up at Gobi Walnut if he’d be willing to custom me a giant beam and a ton of stair treads from a single tree so I could try my hand at building a timber frame staircase. And he said none of that’s a problem, but the beam’s going to take a little while to dry.
And the rule is generally about one year of drying for every inch of thickness. And this beam is 10 in x 12 in thick. So technically it’ll probably never be dry in the very center. But as I understand it, this is just kind of how it goes with timber frame projects is you cut it, you mill it, you let it dry for a couple years, and then it’s fine to use. So it’s been about four or five years now, and I’m finally ready to start this project.
Some of you may be wondering when I’m going to finally break down and buy a trailer, but I’ll give you a pro tip. You don’t need a trailer so long as you have a standard bed pickup and a bunch of red flags. Because everybody knows once you put a red flag on it, your load is legal.
The Plan and the 4 Days Timeline
A couple months ago, a friend of mine from Oklahoma called me up and said hey I recently retired I’d love to get out to Oregon hang out we can just relax drink some beer it doesn’t have to be any big thing. And I said how about instead of any of that other than the beer drinking you help me build a staircase instead. And his exact words were yes.
So this is Monday and his flight leaves Friday morning. So we basically have Monday through Thursday to complete this staircase. And I guess it doesn’t mean that I can’t keep working on it, but I don’t have an extra set of hands after he leaves. So the pressure is really on to get as much done in these 4 days as possible.
And going to be tricky for me because I can be kind of lazy sometimes when I just work for myself. But having him here is that motivation that I need to just see how much I can get done in those four days. And I bet we can finish it.
Experience and Digital Planning
I don’t have a ton of experience building staircases. So far the entirety of that experience is building a step that leads into my shed but that one turned out pretty good so I think I’m going to be okay.
And I am not flying completely blind now. My video guy wanted to learn to render and I said I want to pay you to learn to render. So he’s been doing all kinds of projects for me on the digital front. And I asked can you build me a digital staircase here are the specs here is what it needs to fit and he said maybe and sure enough he did.
So we are going based on some plans that have been drawn up and that makes this project a lot more structured compared to just guessing everything.
Processing the Stair Treads
We decided to process all of the stair treads first. The plans were for 3 and 1/2 in thick stair treads which is super thick. But they were milled at over 4 in which left a ton of material that needed removing.
That is why I used the band saw to fillet off a piece before putting it all through the planer. And here they are sitting at about 3 and 1/2 in or I should say exactly 3 and 1/2 in.
But it is still a little too big for my table saw and I had to get really creative when it comes to cutting this down. And also remember this is the very first stair tread and this is taking a very long time.
We are over an hour into this one single stair tread and already I am getting a little bit nervous about that Thursday deadline because we have a lot more stair treads than this.
Moving to the Industrial Shop
Everything that you see here we accomplished in about 2 and 1/2 hours. That one stair tread we processed in my shop took about an hour and a half.
So I was really glad that I had the idea of heading to an industrial shop. Because processing all this wood much faster made a huge difference.
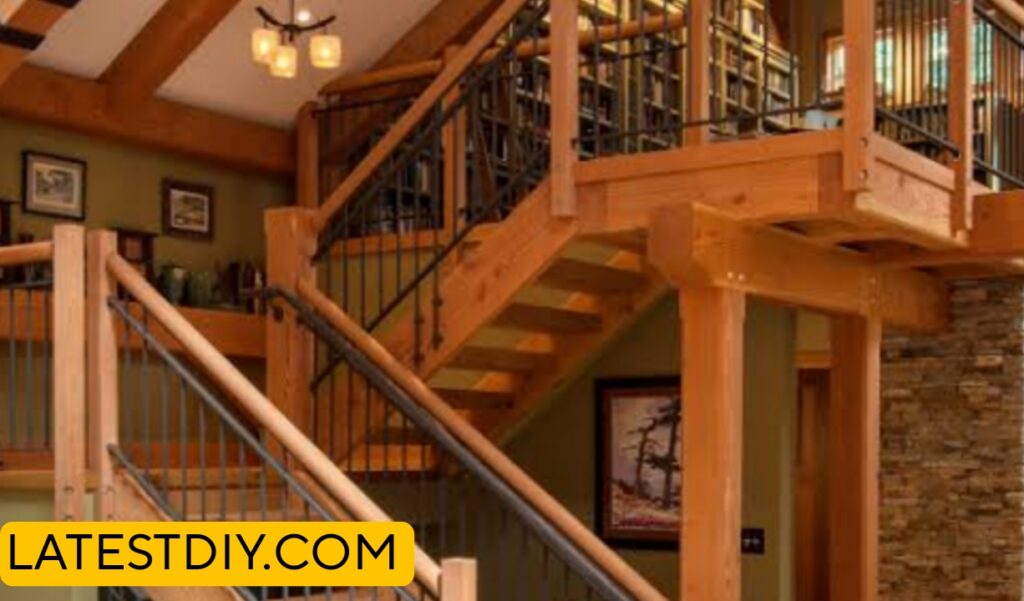
Now we have a 15 ft long beam about 10 in x 12 in and a bunch of perfectly square treads. Now we have to make them look like a staircase and have everything fit together like a puzzle.
Cutting Challenges and Tools
One of the tools that I bought looked really good and it can cut up to 16 in but the cut quality was not good. So I went back to using a track saw.
And this is where we had to be creative because I had to make four cuts and then finish it off with a handsaw. This process required patience and accuracy.
Layout and Angle Cuts
Through the rendering process we came up with a jig that should help lay out all the cut lines and keep everything nice and organized.
We made cuts at about 46 degrees and 44 degrees. Both those add up to 90 so that should make sense. But we are still kind of just following the instructions and hoping everything works.
The saw was not big enough to complete the cuts so it was used as a guide and then finished with a handsaw.
Physical Work and Effort
After getting into sawing a few of these I realized it was more physically demanding than I originally anticipated.
There are not many days when I have six hours straight of physical labor. And this gave me a whole new appreciation for people who do this kind of work every day.
There is a big difference between working in a shop and doing heavy physical work for long hours.
Bow Tie Work and Joinery
There are a ton of bow ties to put into this staircase. Using a jig and a router made the process easier and more consistent.
Soft wood is more difficult because it tends to mash instead of staying sharp like hardwood. Using a router eliminates that problem and gives a cleaner result.
Notching and Fitting
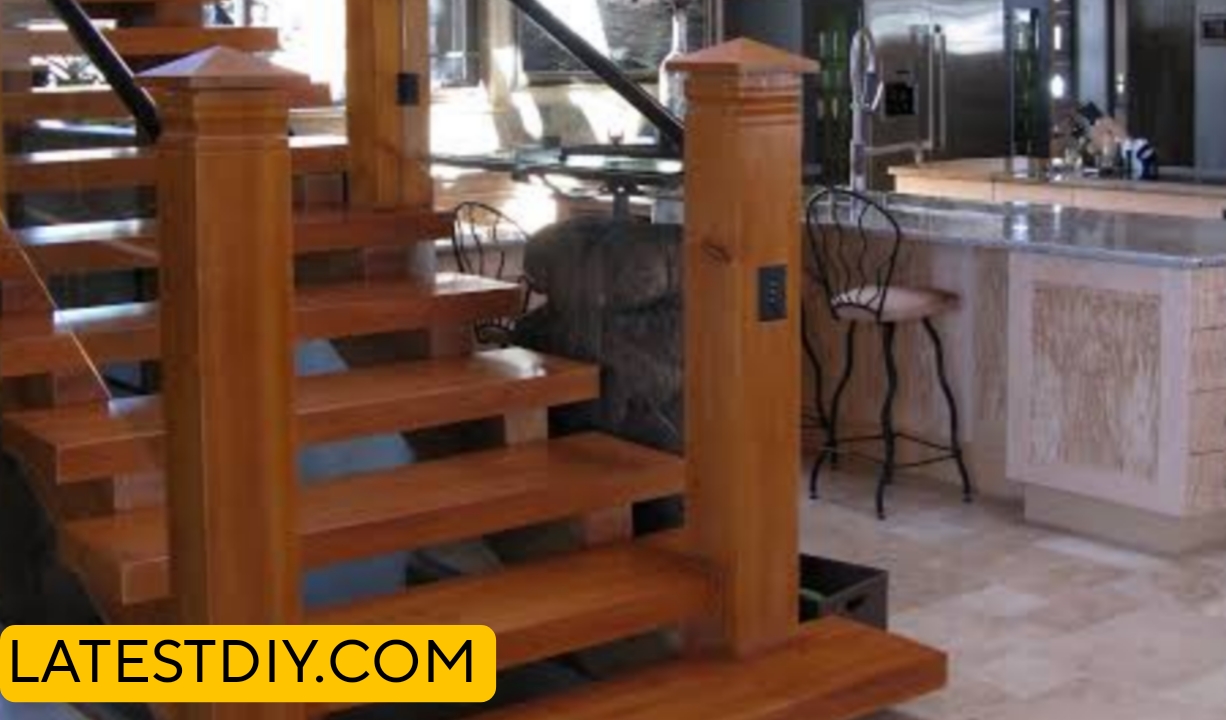
When it comes to attaching the stair tread to the stringer I could have attached it as it is but I wanted to notch it into the stringer.
It is going to look better and it is probably going to be a lot safer since the stair tread is locked in by the stringer.
This step required more work but it was very satisfying.
Final Installation
We are at the point of no return which means removing the old staircase.
The next day and a half will determine whether this becomes a complete staircase or not. Everything depends on measurements and fitting.
Think About It Logic
All of the structural decisions are based on simple logic.
Is that beam strong enough think about it
Are those stair treads thick enough think about it
Is everything going to hold together think about it
None of this was engineered but it should be fine.
Finishing Process
A LED cured finish was used. It is applied wipe it on wipe it off and hit it with a light and it is cured almost instantly.
This makes the finishing process much faster.
Final Assembly and Strength
The stair treads are locked in place using multiple methods.
One is the notch
Second is adhesive
Third is screws
All together they make a strong connection.
Benefits
| Benefit | Description |
|---|---|
| Strong structure | Thick beam and stair treads |
| Unique build | Built from a single tree |
| Fast finishing | LED cured finish |
| Practical approach | Simple logic and methods |
Drawbacks
| Drawback | Description |
|---|---|
| Time pressure | Only 4 days |
| Heavy work | Physically demanding |
| Precision needed | Accurate cuts required |
| Not engineered | Based on practical logic |
Frequently Asked Questions
How long did the beam dry
Four to five years
How thick is the beam
10 in x 12 in
How many days were available
Four days
How thick are stair treads
3 and 1/2 in
Why use industrial shop
Faster processing
What angles were used
46 and 44 degrees
Why use jig
For layout and accuracy
What tools were used
Band saw planer track saw handsaw router
How are treads attached
Notch adhesive screws
What finish was used
LED cured finish
Conclusion
After four days of work the staircase comes together from a giant beam and multiple stair treads.
What started years ago becomes a finished structure. It required time effort planning and patience.
My Opinion
This project shows that even a large build can be done with time patience and effort.
The process step by step from cutting to assembly to finishing creates a final result that looks strong and complete. Think about it.
I’m Shubham, a professional carpenter with 11 years of experience in the craft. I specialize in turning high-quality wood into custom furniture, durable cabinetry, and precise structural work. For me, woodworking isn’t just a job—it’s about building things that last a lifetime


