In today’s woodworking story I am taking the mystery out of building an Adjustable Wooden Footrest for Standing Desk Users. I am going to show you how you can turn regular pieces of wood into a sleek, sturdy, and fully adjustable wooden footrest that makes long hours at a standing desk much more comfortable while keeping everything looking clean and minimalist. The best part is it is a lot simpler than it looks. When customers or your friends see this adjustable wooden footrest for standing desk users, they are amazed and they think that you are some sort of wood magician being able to create such a smooth, height-adjustable piece that tilts perfectly and supports your feet without any wobbling or cheap plastic feel. But now you know that it just requires time, patience, and a fun combination of strong hardwoods and smart simple mechanisms.
This project is perfect for anyone who uses a standing desk for work, gaming, or creative tasks. Standing for long periods can cause fatigue in the legs and lower back, but this adjustable wooden footrest lets you rest one foot at different heights and angles, improving posture, reducing strain, and keeping blood flowing better. The minimalist wood design blends beautifully with modern desks and looks like a premium ergonomic accessory rather than a basic footstool. Customers often try it out, adjust the angle, and say, “This feels so much better than those plastic ones – how did you make it so stable and adjustable?” That moment when they realize it is fully handmade and rock-solid is pure magic.
I have built several versions of this adjustable wooden footrest for standing desk users, and every single time people are left wondering how such a simple-looking piece of wood can offer multiple height and tilt options while staying completely stable. Some think it must involve complicated hinges or metal hardware everywhere, but the truth is you can do this with basic tools, good joinery, and careful planning. Today I am pulling back the curtain completely so you can create your own comfortable and professional-looking footrest.
What started as ordinary boards slowly transforms into something unique, ergonomic, and highly functional through careful cutting, patient assembly, precise angle adjustments, and thoughtful finishing. By the end, you will have an adjustable wooden footrest that not only supports your feet during long standing sessions but also turns your standing desk area into a more comfortable and stylish workspace that impresses everyone who tries it. So grab your favorite hardwoods, some basic tools, and let’s dive in. This is going to be satisfying and really useful.
Why Build an Adjustable Wooden Footrest for Standing Desk Users
Before we get into the actual steps, let me tell you why I enjoy this project so much. First, it improves comfort dramatically. Standing desks are great for health, but without proper foot support, your legs and back can tire quickly. This footrest lets you alternate feet at different heights and angles, reducing fatigue and improving circulation. Second, it looks premium and minimalist. The clean wood lines and natural grain make it blend seamlessly with any modern desk setup instead of looking like cheap office gear. Third, it is fully adjustable without complex mechanisms – using simple wooden stops, wedges, or notched supports that you can change easily.
The combination of sturdy base, smooth tilting platform, and multiple adjustment points creates that wow factor. Customers see the simple wooden footrest and think it is just a basic stool, but when they step on it, adjust the angle, and feel how stable it is, their reaction is priceless. That is the wood magician moment I love every single time. And the best part? It really is not as difficult as it appears once you follow the steps with patience and good measurements.
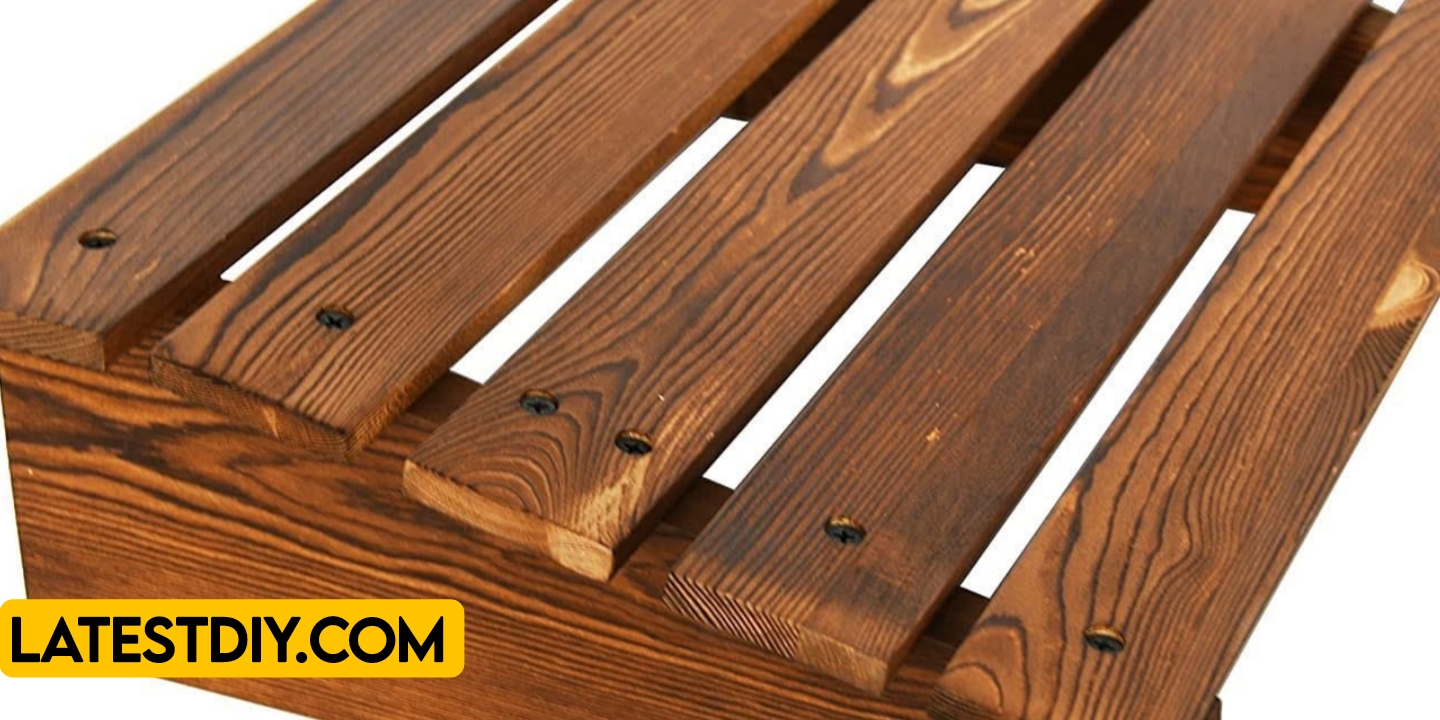
I recommend starting with at least three strong hardwoods. Walnut for rich dark tones and durability, maple for light strength and stability, and oak or ash for extra toughness. Using a combination gives subtle visual contrast while keeping the overall design clean and professional for standing desk use.
Materials You Will Need
To build one Adjustable Wooden Footrest for Standing Desk Users sized approximately 18 inches wide by 12 inches deep (perfect for one or both feet), gather these:
- Hardwood boards – walnut, hard maple, and oak pieces measuring about six to eight inches in width and roughly sixteen to twenty inches in length to start
- Wood glue – Titebond III for strong, waterproof bonds that handle daily use
- Sandpaper in grits from 80 to 400 for ultra-smooth surfaces
- Danish oil or clear satin polyurethane for a durable, natural-looking finish
- Small wooden dowels or notched supports for the adjustable height and tilt mechanism
- Heavy-duty felt pads on the bottom to protect floors and reduce slipping
- Optional: small brass screws or hidden pocket hole joinery for extra strength
Leave the boards as thick as possible at the beginning. You do not need to worry too much about little imperfections because we are going to sand and shape them away later. The goal is to create a footrest that is solid enough to support body weight without any flexing or rocking.
Preparing the Wood
I always start by making sure all my wood pieces are nice and flat on all sides – all four faces as well as the edges. Use a jointer or hand plane to get everything perfectly flat and square. Once the boards are prepared, we can begin cutting the main parts for the adjustable wooden footrest.
I cut strips and panels from the different woods – a bunch of walnut pieces for the base and platform, hard maple for the supports, and oak for reinforcing elements. Having a variety of thicknesses and colors allows me to mix and match for both strength and subtle visual appeal while keeping the design minimalist. Cut these pieces accurately on the table saw and then run them through the drum sander to get uniform thickness and smooth surfaces.
Having consistent thickness is important because when you start creating the adjustable tilting platform and notched supports, everything needs to align perfectly for smooth adjustments.
Two Ways to Start the Adjustable Wooden Footrest Project
There are two different ways that you can begin this project.
One way is to build the solid base first using two or three contrasting woods laminated together for strength, then add the tilting platform on top. You can even add a second layer if you would like for extra stability. Even though it looks flat right now, it is going to create a really cool adjustable effect once we add the supports.
The second way is to take two thicker boards of different colors and place them on top of each other temporarily using painters tape with some CA glue underneath. Then move the assembly to the table saw or band saw where we can cut the outer shape and prepare slots for the adjustable notched supports.
Creating the Tilting Platform and Base
I like to trace the desired platform size and gentle curve or bevel on the wood as a guide. It does not have to be exact but it helps when shaping the tilting surface. Once you start cutting or routing the platform, commit to it. Do not stop halfway through. Just go with the flow and get a nice smooth surface even if it turns out slightly different from your initial drawing.
With the first platform cut done, I gently sand all surfaces before moving forward. Now comes the interesting part. The pieces are flipped around and now we have new surfaces with contrasting woods ready for attaching the adjustable mechanism. Adding the notched wooden supports is where things get fun – these allow multiple height and angle settings.
Adding the Adjustable Mechanism
This is where the real magic starts happening. When you take additional wood pieces and create a series of notches or stepped supports that fit under the platform, that is when the adjustability comes alive. The contrasting woods are placed on the sides for strength and the support pieces go in the middle. Glue is applied carefully and clamps are used to squeeze everything together where permanent.
For the adjustable parts, I prefer a friction-fit or dowel system so you can easily change positions without tools. It is better to have a little bit too much glue on the fixed base than too little.
One thing to remember is that when creating the tilting action and multiple stop points, you actually need to test the angles with your own foot position because everyone’s comfort level is slightly different.
Glue Up Process
We are now ready to do the first major glue up for the base and platform supports. I use one clamp setup per section because there is quite a lot happening with the tilting platform and notched adjustments all at once. Before gluing I make alignment marks in several places so I remember the exact positioning later.
Once glue is applied to the joints, the side panels, base, and fixed supports come together. The tilting platform is test-fitted on top. During this process I use Titebond III because it is waterproof and has a longer open time which is helpful for these assemblies that involve moving parts.
Before tightening the clamps completely, check all alignment marks and make sure the platform tilts smoothly across the different notches. Once everything looks correct, tighten the clamps and leave the assembly to dry fully for at least twenty-four hours.
Flattening and Refining the Footrest
After removing the footrest from the clamps, one important step is making sure all surfaces – especially the top platform and base – are completely flat and smooth. If the piece rocks or feels uneven, it needs flattening before continuing.
Take it to the jointer or use a drum sander to get the base nice and flat. Every time you refine the adjustable notches or tilt angle, a little material may need to be removed to keep the surfaces level and stable under weight.
Adding More Adjustment Options
Once the first set of notches and basic tilt are working, it becomes your personal decision whether to stop or add more height levels or angle stops. The more refinements you add, the more versatile the final footrest becomes for different users and standing positions.
To improve the adjustability, repeat similar steps – trace new notch lines, cut carefully with the table saw or router, insert additional support pieces if needed, and perform another glue up for any permanent parts. Because of drying time this process usually takes several days, so be patient and test as you go.
Tips for Best Results
Tip number one: Start with the thickest boards you can get and make one side perfectly flat before beginning any cutting or assembly.
Tip number two: Have all your clamps ready, including quick clamps, because they make the glue ups around the adjustable mechanism much easier.
Tip number three: Cut all support pieces and notched strips longer than needed otherwise the final footrest will be too short for comfortable use.
Tip number four: Keep extra thin hardwood strips ready because they can break when refining the tight notch fits or testing angles.
Tip number five: Wipe off excess glue five to ten minutes after each glue up to avoid any messy squeeze-out on visible surfaces.
Tip number six: Use a minimum of three strong hardwoods for the greatest strength and visual balance while keeping the design minimalist.
Tip number seven: Do not rush. Each glue up and adjustment test needs at least twenty-four hours drying time before the next step.
Finishing the Adjustable Wooden Footrest
After all the assembly, notch refinements, and tilting tests, the footrest begins to look complete and professional. At this stage, flatten everything again using a sander so all surfaces are smooth and straight.
Once flat, slightly round the outer edges using a hand router or sanding block for comfort and a softer minimalist look. The entire piece is then sanded carefully through finer grits until it feels perfectly smooth under bare feet or socks.
The final step is applying your chosen finish. Danish oil brings out the natural grain and color of the different woods, while polyurethane adds excellent durability against daily foot traffic. Multiple thin coats with light sanding between them give the best long-lasting results.
Benefits of the Adjustable Wooden Footrest for Standing Desk Users
| Benefit | Description |
|---|---|
| Improved Comfort | Multiple height and tilt options reduce leg and back fatigue |
| Better Posture | Alternating feet at different angles improves circulation and alignment |
| Stable and Sturdy | Strong hardwood construction supports full body weight without wobbling |
| Minimalist Design | Clean wood look blends with modern standing desks |
| Durable and Long-Lasting | Quality materials and finish withstand daily use for years |
| Customizable | Easy to adjust notch positions for personal comfort |
| Impressive Wow Factor | Users think you are a wood magician when they feel the smooth adjustments |
Drawbacks to Consider
| Drawback | Description |
|---|---|
| Time Required | Multiple glue ups, drying times, and adjustment tests take several days |
| Precision Needed | Notches and tilting platform require careful measuring and fitting |
| Multiple Steps | Cutting, laminating, notching, and finishing add layers of work |
| Weight | Solid wood makes the footrest heavier than cheap plastic versions |
| Floor Protection | Felt pads are necessary to avoid scratching floors during adjustments |
Frequently Asked Questions
What woods work best for an adjustable wooden footrest for standing desk users
At least three strong hardwoods such as walnut, maple, and oak work very well for durability and beautiful contrast.
Why should the boards be thick at the start
Thicker boards allow material removal during sanding and notch cutting while keeping the footrest strong enough to support weight.
Why use a combination of different woods
Different woods provide both visual interest and varied grain patterns that make the minimalist design more attractive.
Why must the base stay perfectly flat
A flat base ensures the footrest sits stable on the floor and the platform tilts smoothly without rocking.
How long should glue dry between steps
Glue should dry for about twenty-four hours for full strength, especially on load-bearing parts.
Can the footrest be made for different foot sizes or heights
Yes, simply adjust the platform size and notch spacing to match your personal needs or desk height.
Why keep extra wood strips ready
Strips can break or need shimming when fine-tuning the notch fits for smooth adjustments.
What creates the smooth adjustable action
The precisely cut notches or stepped supports allow easy changes in height and tilt angle.
How many adjustment positions can be added
The process can be repeated several times depending on how many height and angle options you want.
Why do standing desk users love this footrest so much
Because it provides real ergonomic relief, looks beautiful, and feels solid – unlike cheap plastic alternatives.
Can I add a non-slip surface on the platform
Yes, adding thin rubber or textured felt on top gives extra grip under socks or bare feet.
Is this project suitable for beginners
Yes, if you take time with measurements, test the angles carefully, and do not rush the glue ups.
What finish is best for a footrest that gets daily use
Satin polyurethane offers good durability and easy cleaning while still showing the wood grain.
How do I make sure it does not slide on the floor
Heavy-duty felt pads or small rubber feet on the base prevent slipping during use.
Can this footrest also work as a low stool
Yes, with wider platform and stronger supports it can double as occasional low seating.
Conclusion
After many hours of careful wood preparation, detailed cutting, patient lamination and glue ups, precise notch creation for adjustability, multiple sanding sessions, and beautiful finishing, the regular pieces of wood slowly transform into a stunning adjustable wooden footrest for standing desk users. What started as simple boards becomes something unique, ergonomic, and artistic that truly improves daily comfort at work.
Customers often step onto this footrest, adjust the tilt, and they are amazed. They think that you are some sort of wood magician being able to create such a stable, smooth-adjusting piece that makes standing desks so much more comfortable. They shift their weight, change the angle, and smile because it just feels right.
But the truth is that it just requires time, patience, and a fun combination of strong hardwoods, careful measurements, and smart joinery. Each step builds on the last, and when followed carefully with attention to detail, ordinary wood turns into an incredible functional tool that supports better health and productivity every single day.
In my opinion, when people first see this adjustable wooden footrest for standing desk users, they often assume the build must have been extremely difficult and technical. But once the process is understood, it becomes clear that the real secret is patience, good preparation, and a thoughtful combination of woods and simple mechanisms. Regular boards can become beautiful, ergonomic masterpieces when each step is followed one careful step at a time – from the first flat preparation to the final protective coat of finish.
This project gives you not only practical foot support during long standing hours but also that deep satisfying feeling of knowing you created something clever, sturdy, and personal with your own hands. The adjustable wooden footrest reduces fatigue, improves posture, looks great under any standing desk, and always sparks positive comments. So go ahead, select your hardwoods, measure your ideal platform size, and enjoy every part of the build. I promise when someone tries your adjustable wooden footrest and feels how smoothly it adjusts, you will smile and feel exactly like the wood magician they think you are.
I’m Shubham, a professional carpenter with 11 years of experience in the craft. I specialize in turning high-quality wood into custom furniture, durable cabinetry, and precise structural work. For me, woodworking isn’t just a job—it’s about building things that last a lifetime


