

Sometimes a project begins as a strange idea, and before you realize it, that idea turns into the most complex creation you have ever made. This build is exactly that kind of experience. The engineering, the artistry, and the entire process behind this project are unlike anything you normally see in woodworking.
This project is not just another furniture build. It is something far more unusual and far more ambitious. The goal here is to create an operating sculpture that will permanently live in a home. Not a decorative sculpture sitting on a shelf, but a fully functional toilet and bidet carved into a dragon sculpture.
That means this project must balance two completely different worlds. On one side, there is art and sculpting, where shapes and creativity take over. On the other side, there is engineering, plumbing, electronics, and functionality that must work perfectly every single time. If even one part fails, the entire build could fall apart.
Welcome to part two of this wild journey.
In the previous phase of the project, the initial structure was created and the plumbing system was prepared. But even after all of that work, there was still a huge amount left to complete. The final goal was to transform this wooden structure into a massive dragon sculpture that also functions as a toilet and bidet.
Before moving forward though, there was something very important that had to happen first.
Testing.
Testing the Flush System
Before carving dragons or finishing the sculpture, the most important question needed an answer:
Does it actually flush?
The first test was honestly a bit shocking. The flush turned out to be massive. When the system activated, the water pressure and the flow were far stronger than expected. It was not just a normal flush. It was powerful.
That moment alone was both exciting and slightly terrifying.
But the important thing was that the system worked exactly the way it was supposed to.
Still, one successful flush test was not enough. A second test and then a third test were necessary just to make sure the system could handle real-world conditions.
For the final test, a clay piece was created that weighed roughly a pound. The goal was to simulate something more realistic going through the system. And when that clay piece flushed successfully, it confirmed something incredible.
The system worked.
It was officially time to move forward with the sculpture.
Protecting the Walnut From Water Damage
When working with water and wood together, there are always serious concerns.
Wood and water do not always cooperate well over long periods of time. Over time, water can stain wood, weaken it, or even cause structural problems.
There was also another issue discovered earlier in a previous project involving a waterfall lamp. Hard water had caused ugly staining from mineral buildup.
And after moving to a new house, the water problems became even worse.
Hard water minerals like chlorine, chloride, and calcium were creating stains and buildup everywhere. Plants were dying unexpectedly, appliances were showing heavy calcium deposits, and even the laundry room smelled strongly of chlorine.
With a sculpture made from beautiful walnut wood, allowing those minerals to ruin the surface would be devastating.
That meant a water filtration system became essential.
Installing a Whole Home Water Filtration System
To solve the water problems, a whole-home filtration system was installed.
The process began by taking a water sample from the kitchen sink and sending it to a lab for testing. The results confirmed several issues with the home’s water supply:
• Chlorine contamination
• Chloride presence
• High water hardness
• Sediment in the water lines
These contaminants explained the strange problems happening throughout the house.
The filtration system installed included two major components:
• A salt-free water conditioner for hard water
• An activated carbon filter for chemicals and impurities
Once installed, the difference was immediate.
The water became cleaner, the chlorine smell disappeared, and even the plants started showing healthier growth.
Most importantly, the filtration system ensured that the walnut sculpture would not be damaged by mineral buildup over time.
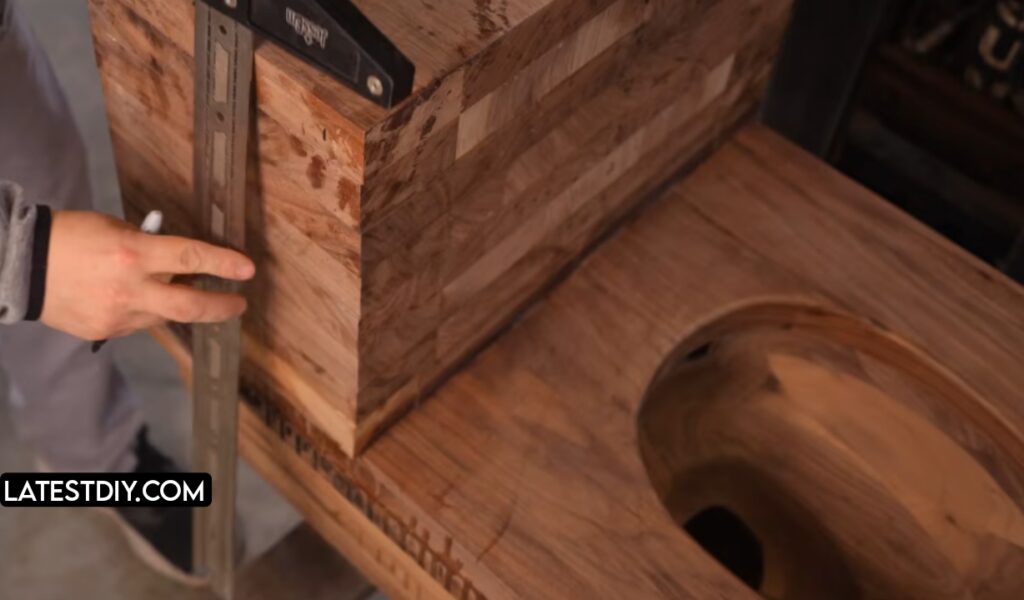
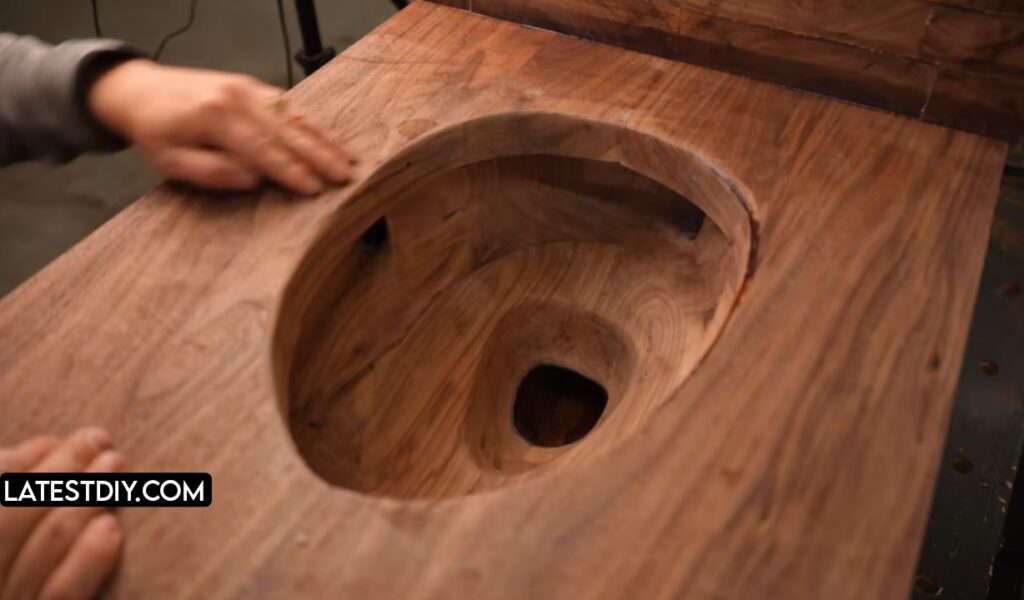
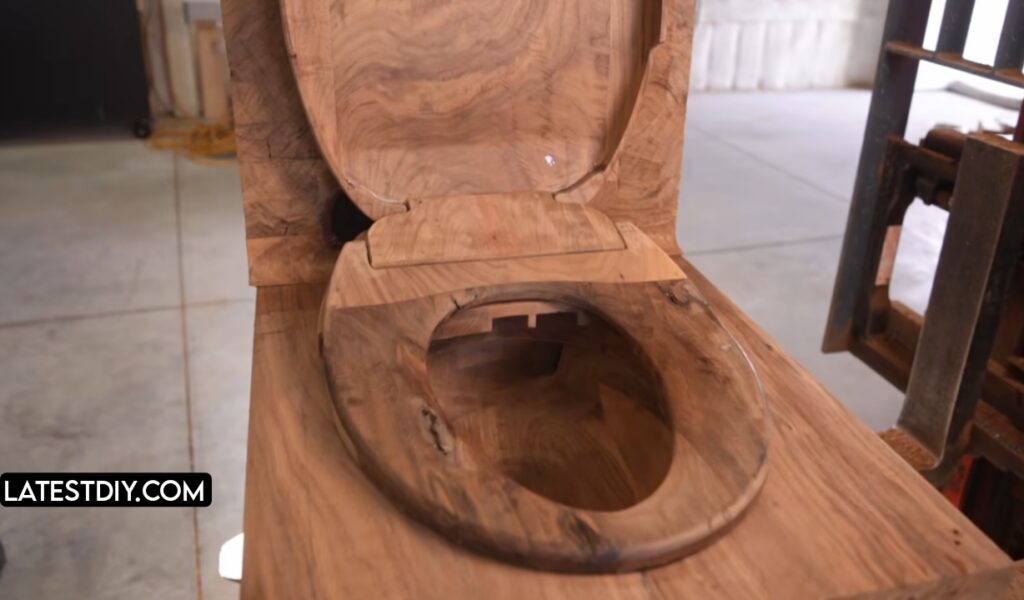
Designing a Custom Walnut Bidet Seat
With the plumbing system working and the water protected, the next challenge appeared.
The bidet seat.
Normally, electronic bidet systems come with plastic seats. But placing a plastic seat on top of a beautiful walnut sculpture would look completely ridiculous.
So the decision was made to design an entirely custom walnut seat.
This seat needed to integrate several features:

• Heated seat elements
• Water spray system
• Occupancy sensor
• Air dryer components
• Electronic controls
The challenge was that all of these parts were originally designed to work inside plastic.
Now they had to function perfectly inside wood.
Testing the Occupancy Sensor
One of the first tests involved the occupancy sensor.
For the bidet to work, the system must detect when someone is sitting on the seat. If the sensor fails, the entire system becomes useless.
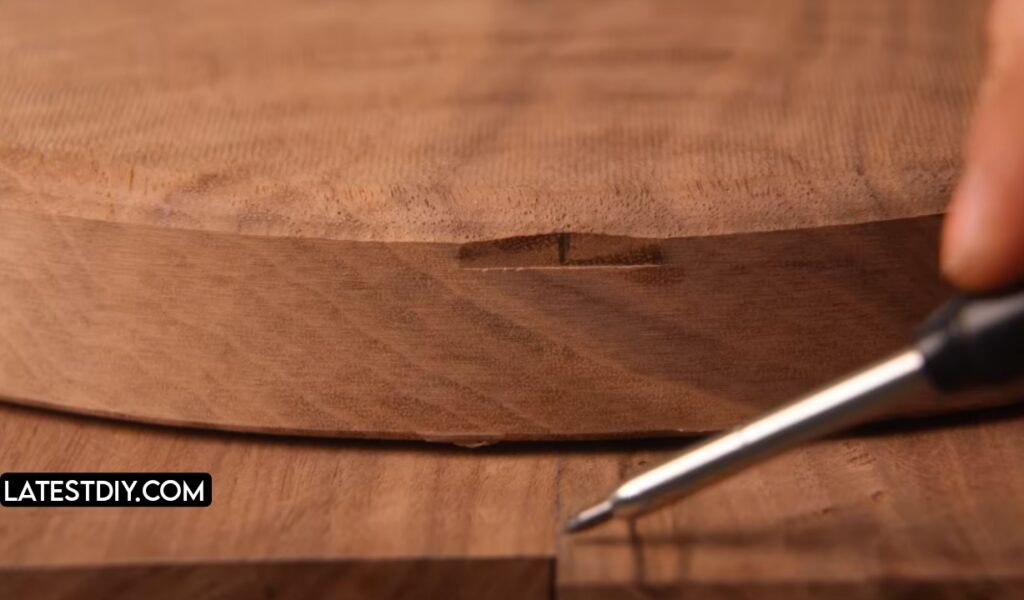
The big question was whether the sensor could detect someone through wood.
After testing several wood thicknesses, it was discovered that the sensor could successfully work through nearly a quarter inch of walnut.
That was a huge victory.
It meant the wooden seat could be built without interfering with the electronics.
Using Scrap Wood for the Build
Another interesting part of the project involved using leftover wood pieces from previous builds.
Normally these cut-offs are difficult to reuse because they are irregular shapes or awkward sizes.
But this time, those pieces became extremely useful.
Using smaller wood pieces reduced waste and also made the CNC machining process faster since less material needed to be removed.
At the same time, the CNC machine could work on the electronic housing components while the sculpting work continued by hand.
This allowed the entire project to move forward faster.
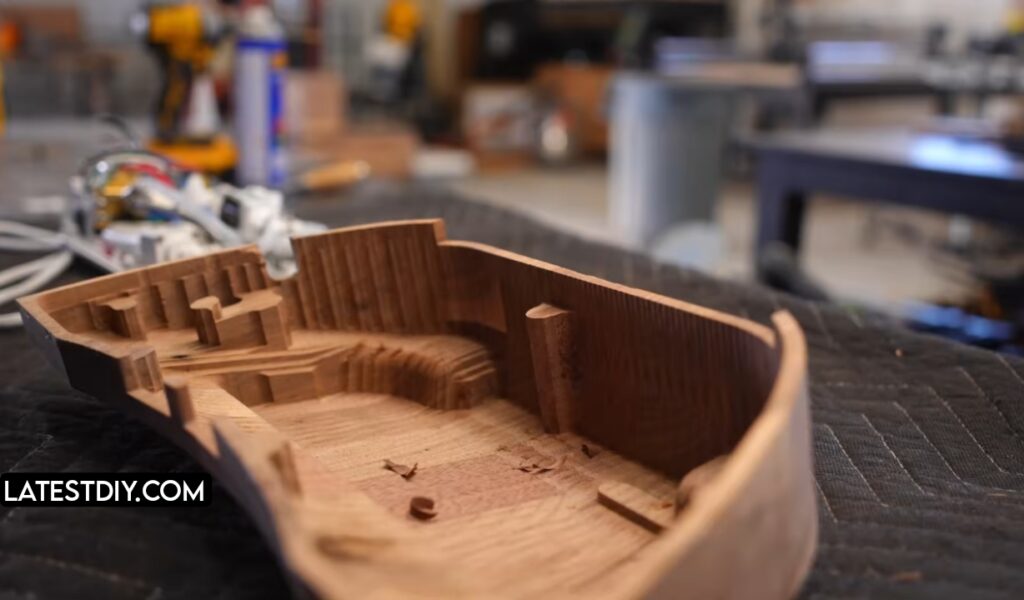
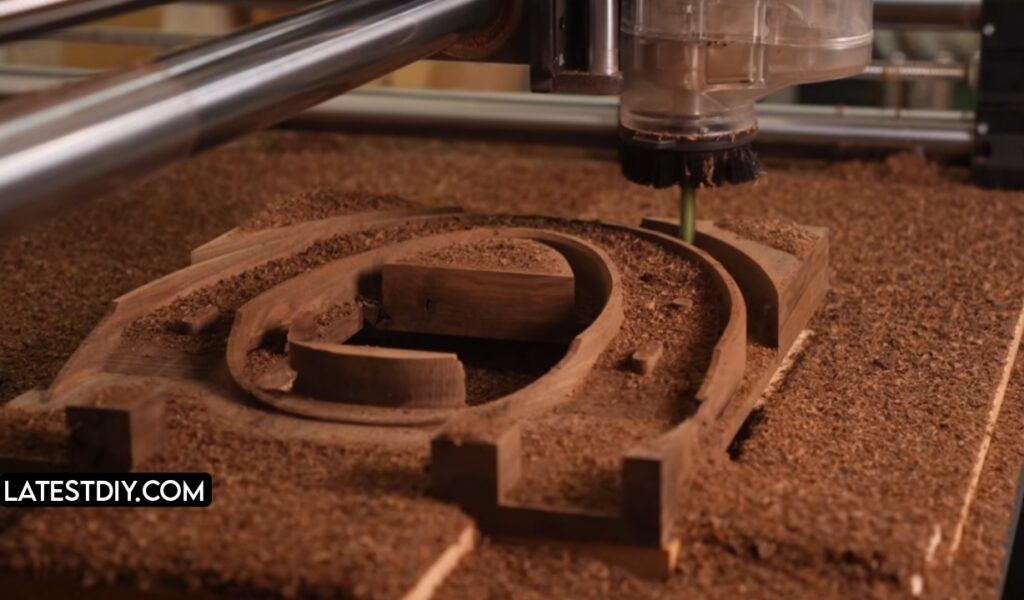
CNC Machining the Bidet Housing
The CNC machine played a huge role in creating precise components for the bidet housing.
These parts required extremely accurate cutting since the electronics needed to fit perfectly inside the wooden structure.
However, the CNC process did not go smoothly at first.
The machine kept stopping unexpectedly, which caused serious frustration. After investigating the problem, it turned out that wood chips were flying into the machine sensors and triggering false stops.
To solve this, a simple protective part was designed and installed to block the sensors from stray chips.
Once that fix was in place, the machine started running perfectly again.
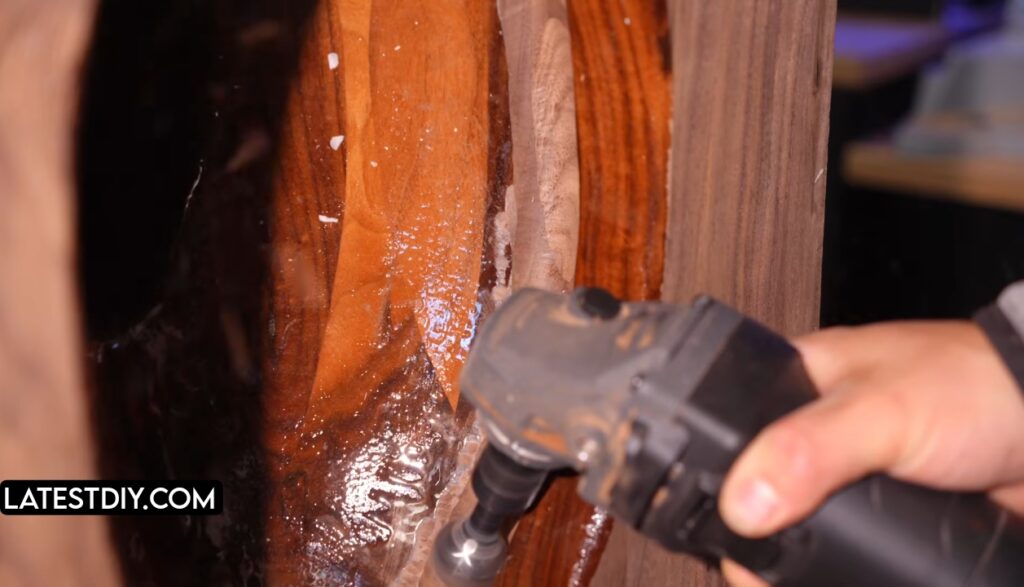
Strengthening the Seat With Fiberglass
As the seat structure developed, another issue appeared.
Some parts of the wood were too thin and brittle. If someone sat down and the wood cracked, that would be an embarrassing and catastrophic failure.
To reinforce these areas, fiberglass cloth and epoxy were applied inside the seat structure.
This reinforcement made the seat dramatically stronger while remaining completely hidden from view.
Designing the Dragon Sculpture
With the engineering side of the project nearly complete, the artistic side finally began.
The toilet was going to be carved into a dragon sculpture.
Instead of drawing detailed plans first, the design process started with clay models. Several attempts were made to create a dragon shape using clay, but none of them looked right.
Eventually the clay modeling was abandoned.
Instead, the sculpture was designed directly during the carving process.
The dragon tail would wrap around the toilet, creating motion and guiding the viewer’s eye around the entire piece.
The goal was not just to build something functional.
The goal was to create art that made people curious.
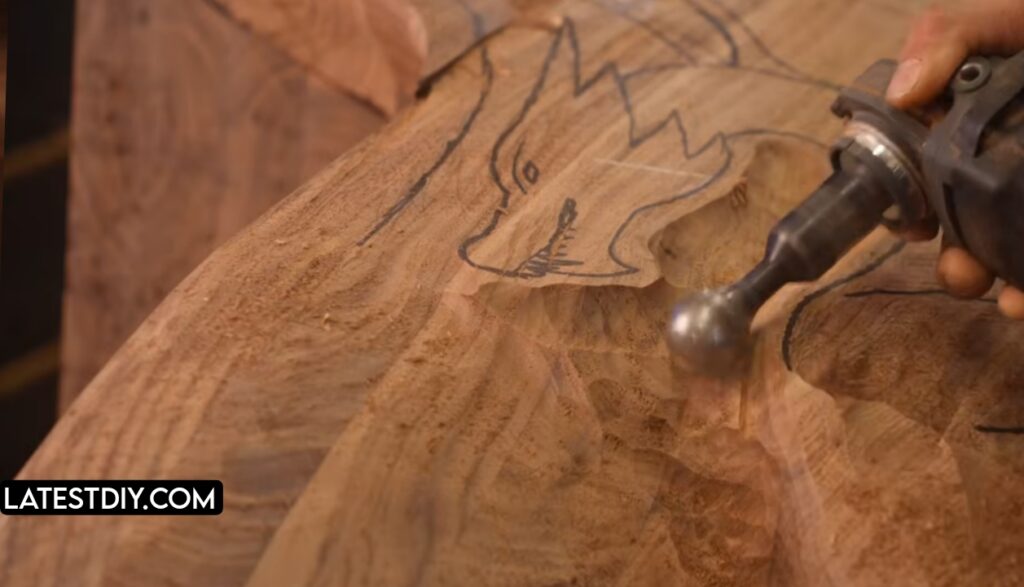
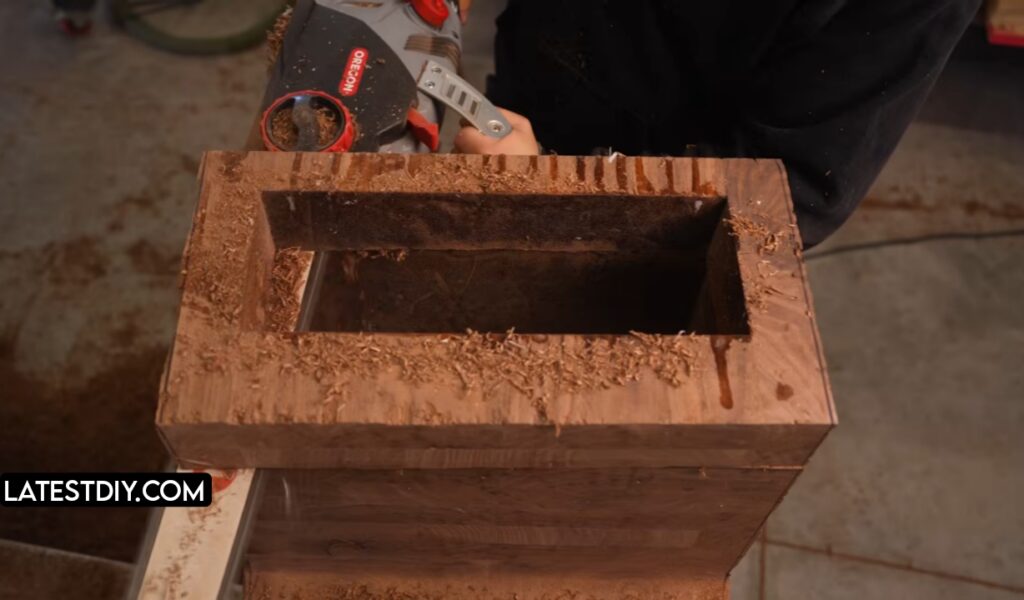
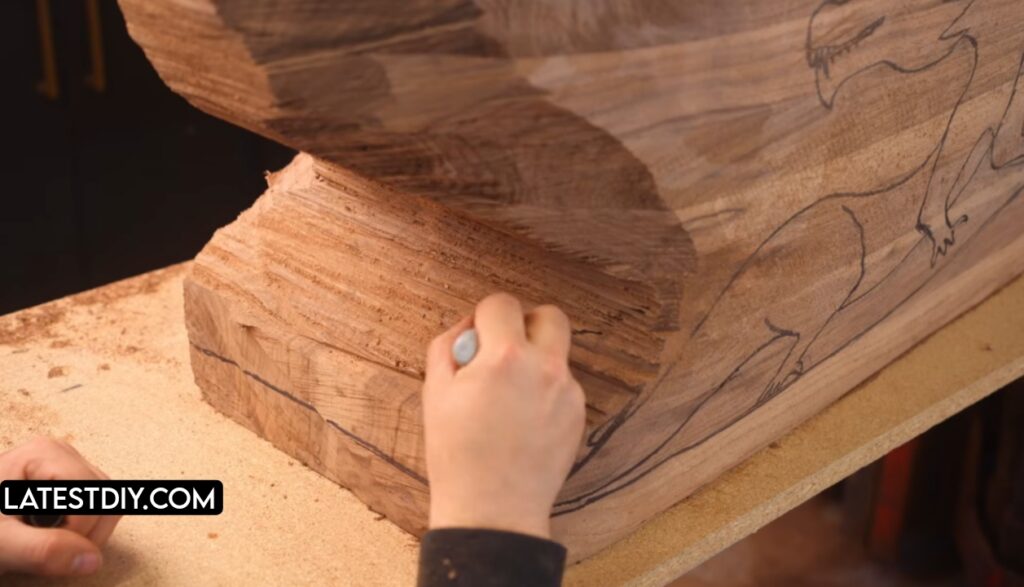
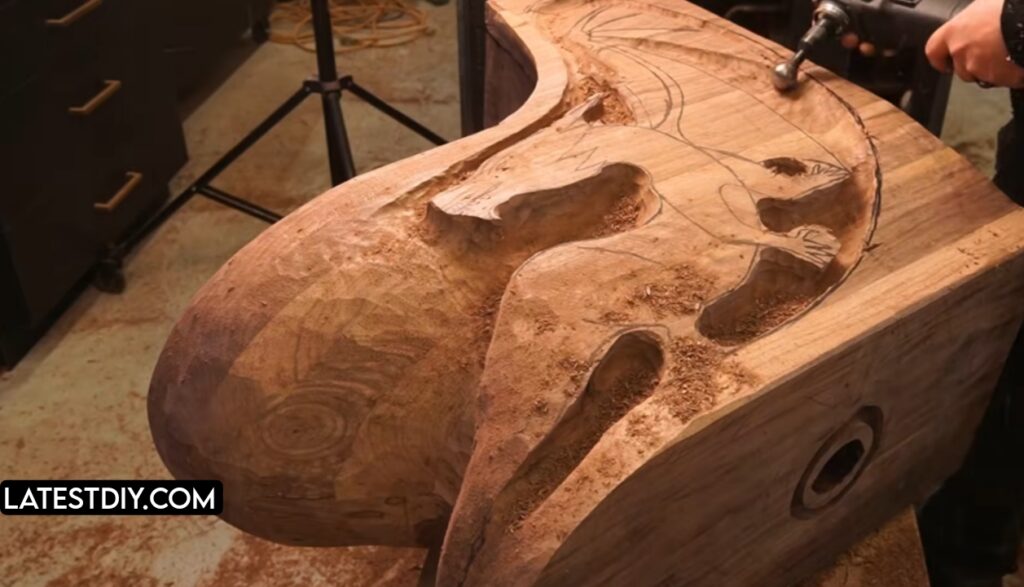
Carving the Dragon
Carving the dragon sculpture became the most intense part of the entire project.
Unlike previous builds such as tables or lamps, this project required carving two separate objects simultaneously.
The toilet shape needed to remain functional.
But the dragon sculpture had to emerge from the same piece of wood.
Every cut carried risk.
One wrong move could cut into the internal plumbing channels or destroy hundreds of hours of work.
Despite those risks, the dragon slowly began to take shape.
The head, the claws, and the long tail wrapping around the structure all started to appear from the walnut.
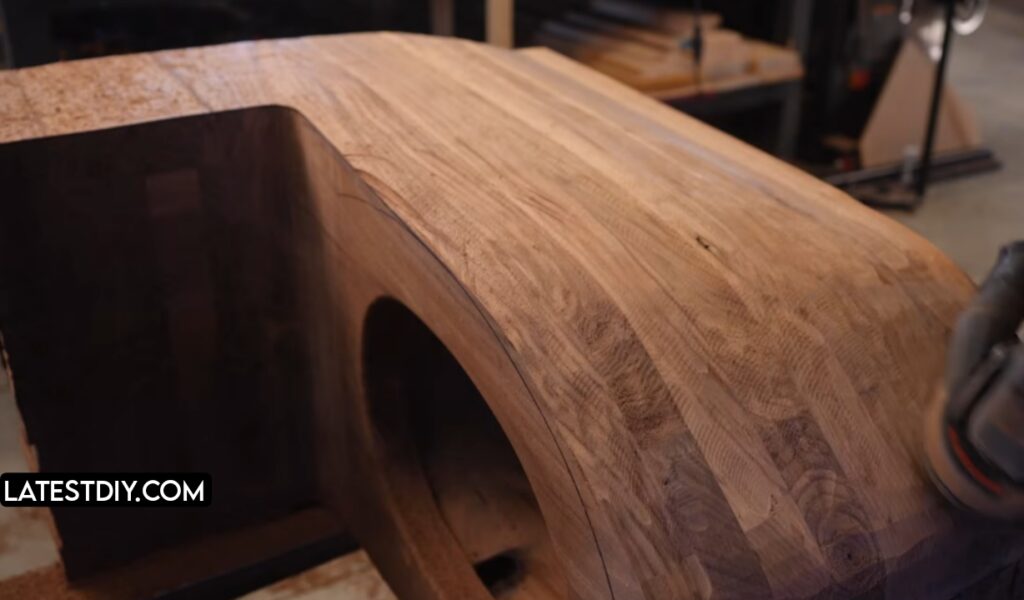
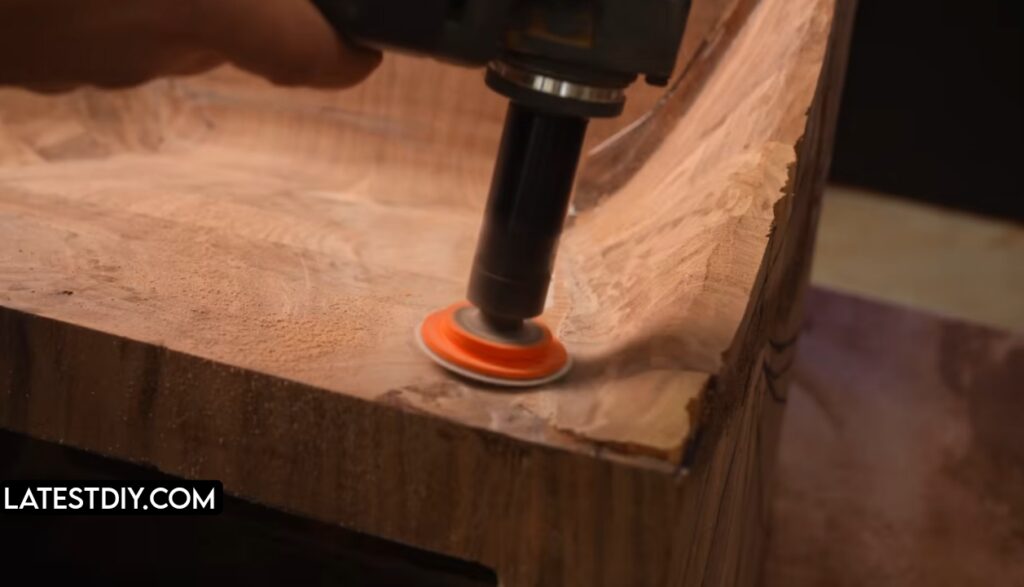
Sanding and Final Shaping
After the carving was complete, the sculpture required massive amounts of sanding.
Every possible sanding tool was used during this stage:
• Mop sanders
• Disc sanders
• Nylon abrasives
• Dremel sanding tools
• Hand files
This process lasted for days, but the results were incredible.
The dragons began to look alive.

Final Assembly and Testing
Once the sculpture was finished, the final plumbing components were installed.
The bidet system, heated seat, dryer, and sensors were connected.
Then came the moment of truth.
The water was turned on.
The tank filled correctly.
And finally…
The first real flush happened.
The toilet flushed perfectly.
Even better than before.
The heated bidet worked.
The heated seat worked.
The dryer worked.
And the wooden seat supported full body weight.
After hundreds of hours of work, the dragon toilet sculpture actually worked exactly as intended.
Benefits of This Creation
• Completely unique functional sculpture
• Combines engineering with art
• Custom walnut construction
• Integrated heated bidet system
• High craftsmanship and originality
Challenges During the Build
• Extremely complex engineering
• Risk of damaging internal plumbing channels
• CNC machine sensor issues
• Fragile wooden seat components
• Huge time investment
Frequently Asked Questions
1. What wood was used in this project?
The sculpture was carved from walnut wood.
2. Is the dragon toilet actually functional?
Yes, it fully works as a toilet and bidet system.
3. Does the heated seat work?
Yes, the seat heating system functions normally.
4. Does the bidet spray system work?
Yes, the spray system and air dryer both operate properly.
5. How much does the sculpture weigh?
The final weight of the sculpture is about 130 pounds.
6. How long did the project take?
The project required hundreds of hours of work.
7. Was a CNC machine used?
Yes, CNC machining was used for some electronic housing components.
8. How was the dragon carved?
The dragon sculpture was carved using chainsaws, carving tools, and sanding equipment.
9. Why build a toilet sculpture?
The project was designed to push creativity beyond normal furniture builds.
10. Will there be another video about it?
Yes, additional experiments and tests were planned.
Conclusion
This project started as a strange idea and slowly transformed into one of the most unique woodworking creations imaginable.
It combines art, engineering, plumbing, electronics, and creativity in a way that few projects ever attempt.
And in the end, the result was not just a sculpture.
It was a fully functioning dragon toilet.
My Opinion
Personally, I think this project proves something powerful about creativity.
Sometimes the best ideas come from breaking away from what you normally build.
By stepping outside the usual path of furniture making and trying something completely different, this project became far more exciting and challenging.
Turning something ordinary like a toilet into something artistic and unforgettable is exactly the kind of creativity that keeps projects interesting.
I’m Shubham, a professional carpenter with 11 years of experience in the craft. I specialize in turning high-quality wood into custom furniture, durable cabinetry, and precise structural work. For me, woodworking isn’t just a job—it’s about building things that last a lifetime

