
Sometimes a project becomes more than just a build. Sometimes it slowly turns into something that feels like it has taken over your life. That is exactly what happened during this table build. The idea started simple, but as the process continued it kept evolving, growing, and demanding more creativity and persistence than expected.
To build this table, I had to reinvent some pretty old technology. Well, I made it giant and slapped a router onto it. At that moment I honestly had no idea how the final result would turn out. The concept sounded exciting, but also a little crazy. The entire goal was to carve a tabletop using a massive spyroraph system, something similar to the childhood drawing toy but scaled up to a level that could carve real walnut wood.
The result? Well, you’ll just have to watch and find out.
But before we even get close to the carving stage, the entire process begins with wood selection. And as it turns out, choosing the right walnut boards ended up being one of the smartest decisions of the entire project.
Choosing the Walnut for the Coffee Table
So, I went to the lumber store and left with more rustic walnut than I probably should have. The reason for this decision was simple: I needed clear boards for this coffee table project.
If you have never tried this method before, it is honestly insane how well it works. Instead of purchasing premium walnut boards or expensive walnut slabs, I went to the lumber yard and specifically bought rustic walnut.
The result?
Rustic walnut ends up being half the cost of premium boards or sometimes even a sixth of the cost of slabs per board foot.
That difference adds up quickly when you are building something large.
Since I needed clear boards for the table, I simply purchased a large amount of rustic walnut and started sorting through it. I used all the clear grain pieces for the table itself, and all of the rustic grain pieces were saved for a completely different project later on.
And surprisingly, the wood turned out to be incredibly clean.
Honestly, this was some pretty dang clear walnut, especially considering it was half the price.
Preparing the Boards and Avoiding Cracks
When working with walnut boards like this, there are always a few things you have to watch out for.
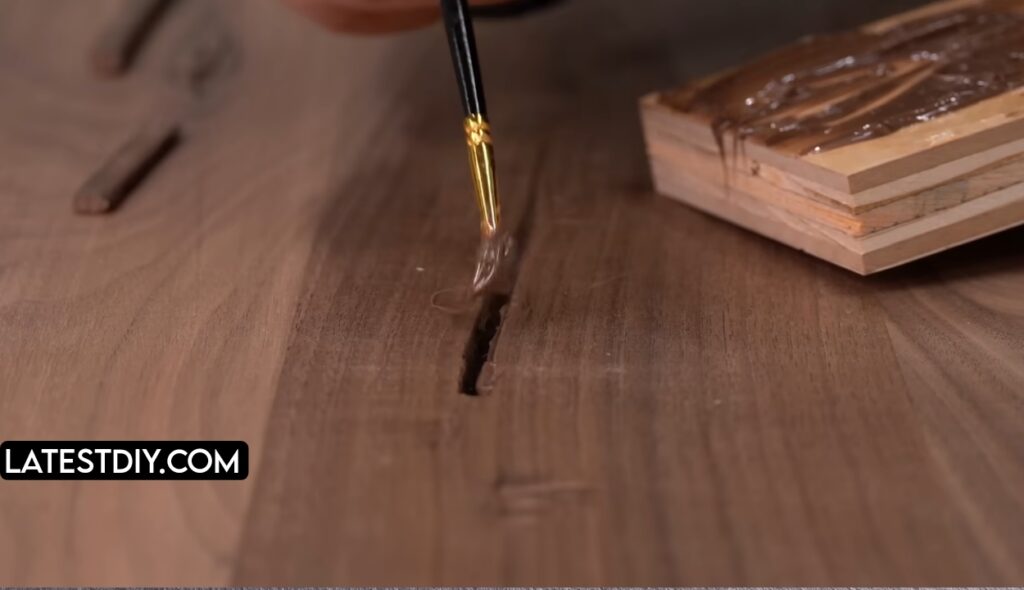
One of the biggest problems is something called a pith. If those run through the wood, they can cause cracks later in the life of the table.
So I carefully watched for these piths and either cut them out completely or made sure they did not go all the way through the board.
Why does this matter?
Because if you ignore them, the table could crack in half in the future. And obviously the definition of that would be… not good.
Every part of this table was going to be intricate, and that meant careful preparation from the very beginning.
Building the Base of the Table
Before finishing the tabletop, I decided it made more sense to start with the base.
The base required a huge chunk of wood that could later be carved into shape. For this I used a 12-foot walnut board.
Yes, a 12-footer.
And honestly, whose idea was it to get a 12-footer? Because moving something like that around the shop is not exactly easy.
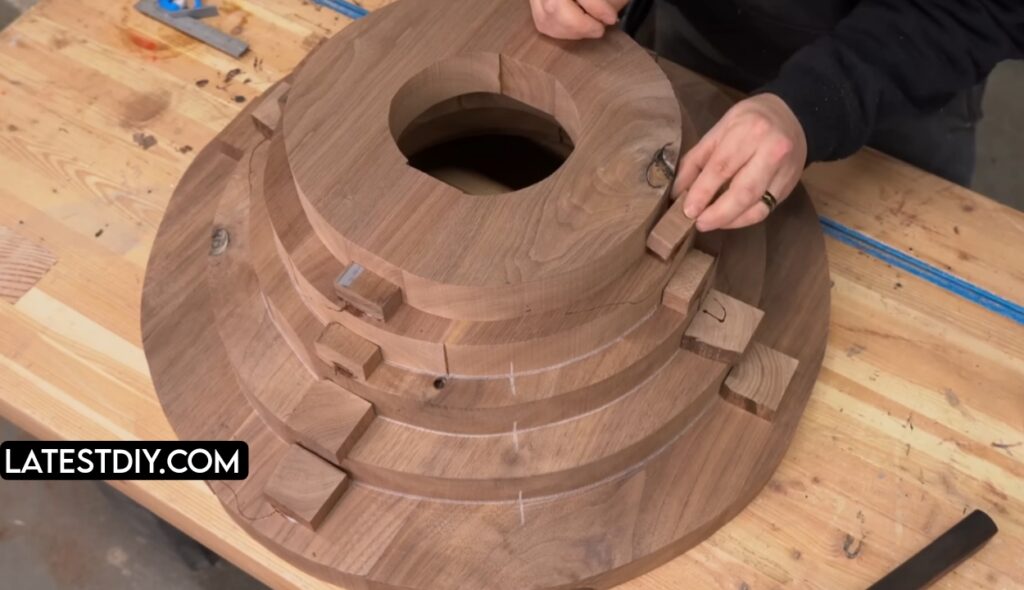
You would actually be extremely surprised if you knew how much lumber it took just to create a single carved base. And remember, this is just a coffee table.
If I had started cutting the board into small pieces and gluing them randomly, it would have taken twice the amount of lumber.
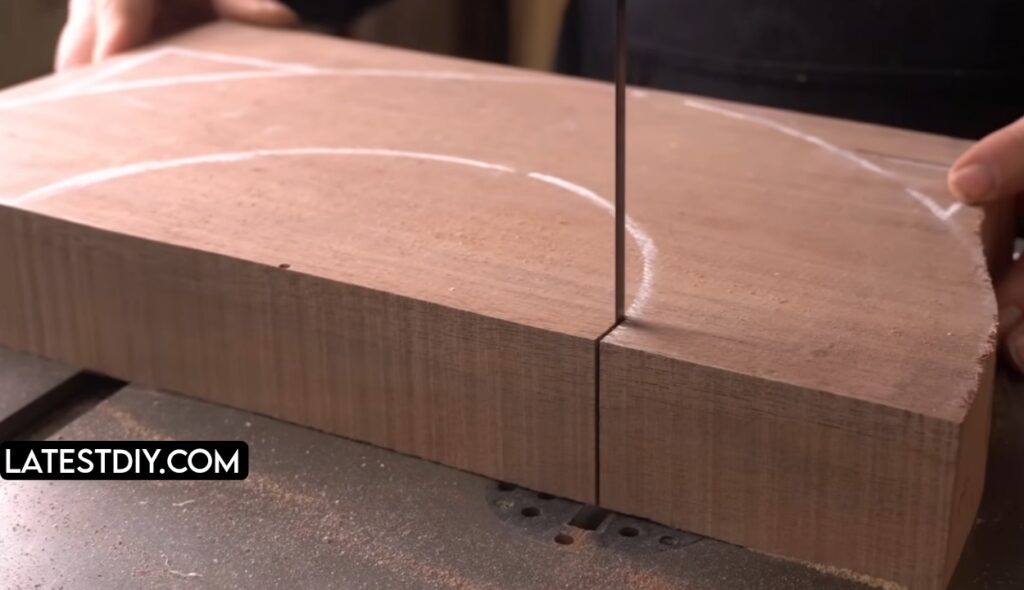
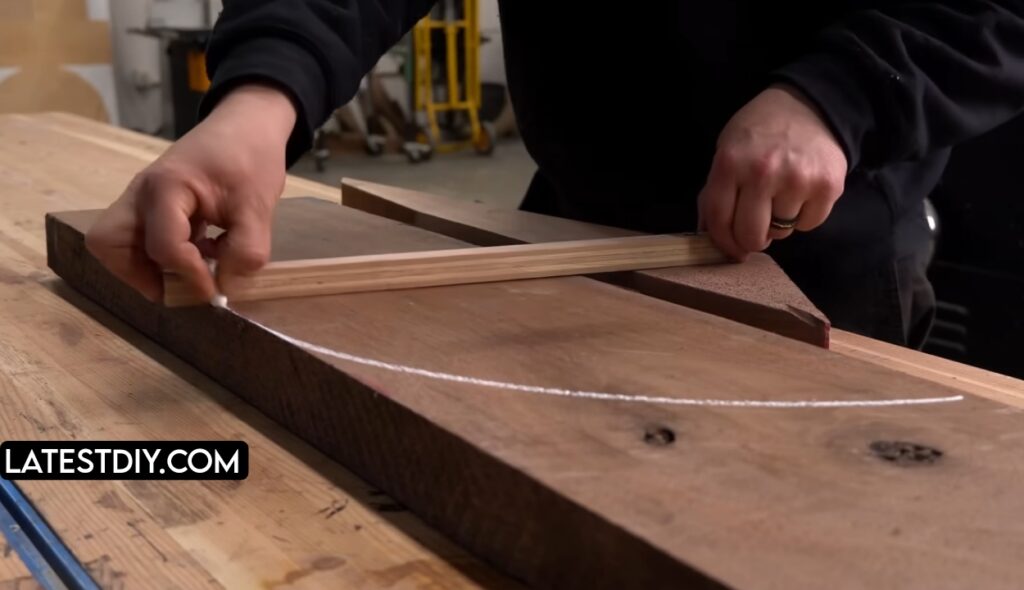
So instead, I marked out every segment carefully and decided to leave the center hollow.
This method allowed me to cut semicircles from the board while saving the center pieces for later use in other parts of the stack.
Any pieces that were not used would simply get set aside for future projects.
The Challenge of Glue-Ups
In theory, gluing all of these parts together sounds simple.
But in reality?
It was a little challenging.
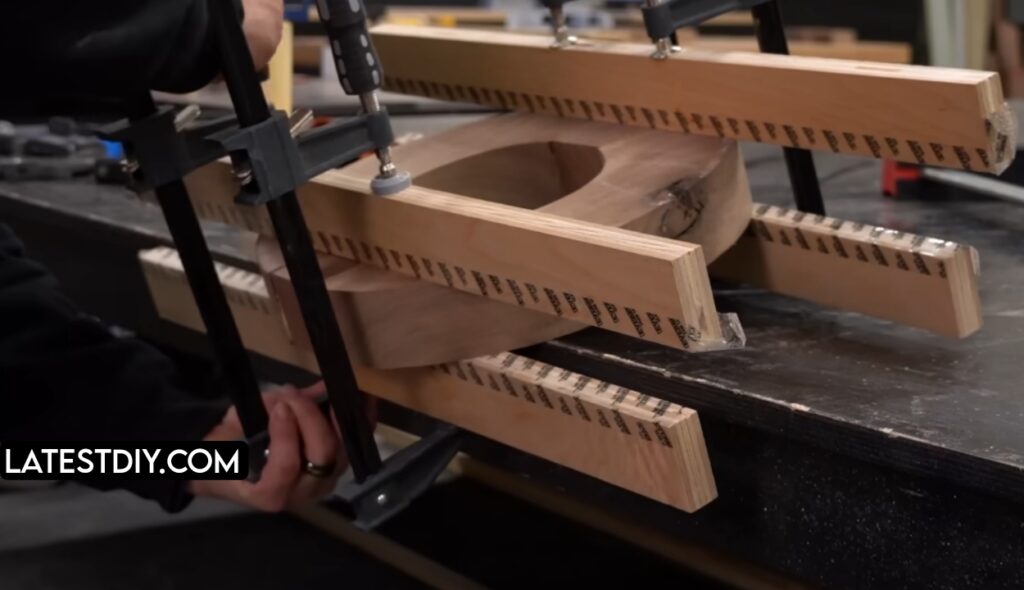
The tricky part was getting everything jointed and glued perfectly. Every piece needed to be completely flat, otherwise the glue-up would fail.
During this entire process, there was one thing I focused on more than anything else:
Every single piece needed to be as flat as possible.
If you have ever done large glue-ups before, you probably know that a little forethought goes a long way.
Instead of gluing everything together at once, I glued two halves separately. That way I did not have an enormous lineup of glue joints that would require a ridiculous amount of clamping pressure.
The Hula Hoop Flattening Method
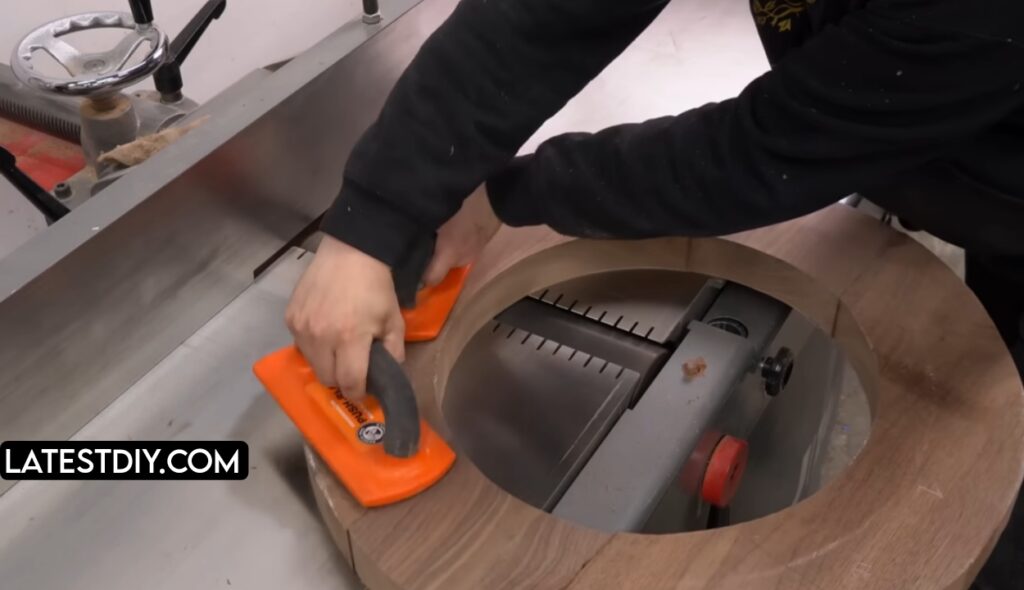
Once the parts were prepared, I still needed a way to flatten the semicircle pieces.
And this is where things started to get interesting.
A member of my Patreon actually coined the term for the technique I used.
They called it hula hooping.
The process involved spinning the pieces in a circular motion to flatten them evenly. Any pieces smaller than 16 inches could simply run straight through the setup.
It might look unusual, but it worked surprisingly well.
Designing the Spyroraph Carving System
Now comes the most exciting part of the entire project.
The carving system.
I wanted to carve the tabletop in a way that looked like a CNC machine had created it, but without actually using a CNC.
That is when the idea hit me.
A giant spyroraph.
Just like the childhood drawing toy.
Except this one would hold a router.
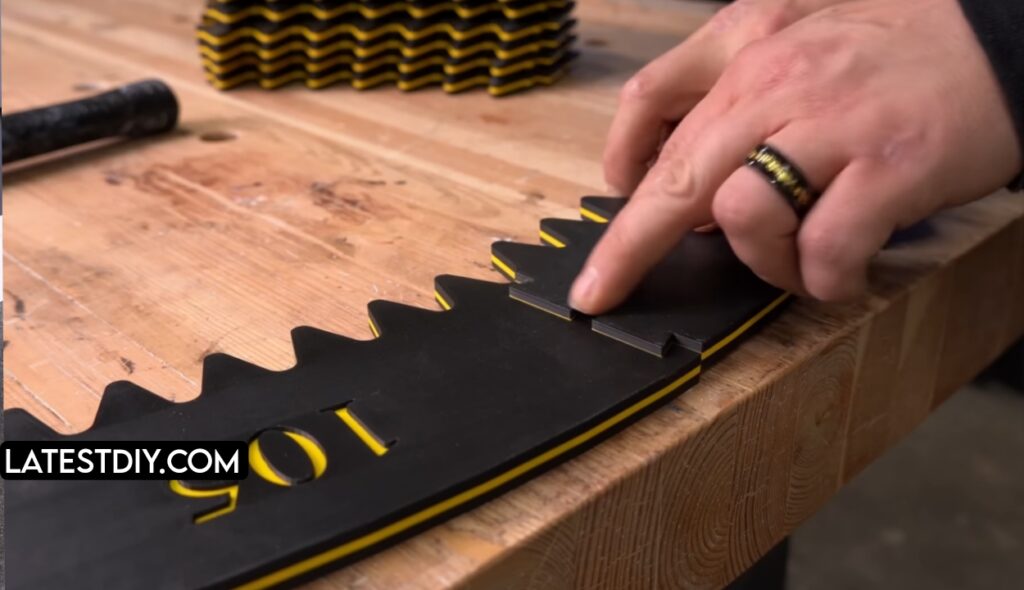
To make this possible, I designed a gear system and 3D printed it using the Bamboo Lab X1 Carbon printer. The precision of the printer allowed the dovetail connections to fit perfectly with zero tolerance issues.
Fifteen pieces later, everything fit flawlessly.
Carving the Tabletop
This is where the real challenge began.
The carving process required 52 passes around the table.
Each pass involved guiding the router through the spyroraph gear system to create the repeating geometric pattern in the walnut.
It might not look like much on camera, but physically this was exhausting.
My arms, my back, my abs — everything was burning.
At one point I actually stopped and told myself:
“I don’t know if I can do this.”
But I kept going.
Pass after pass.
The pattern slowly started to appear exactly the way I imagined it.
Fixing Problems During the Carving Process
Of course, no project goes perfectly.
At one point the gear system came loose.
That meant the entire alignment of the pattern was at risk.
Luckily I had marked my starting point with a small dot earlier in the process. That allowed me to realign the system by checking the top dead center positions and carefully screwing everything back into place.
It took time, but eventually the system was aligned again.
Seven Hours of Carving
In total, the carving process lasted about seven hours.
And even after all that time, I still needed to perform several additional passes to remove tear-out and improve the pattern.
But something unexpected happened.
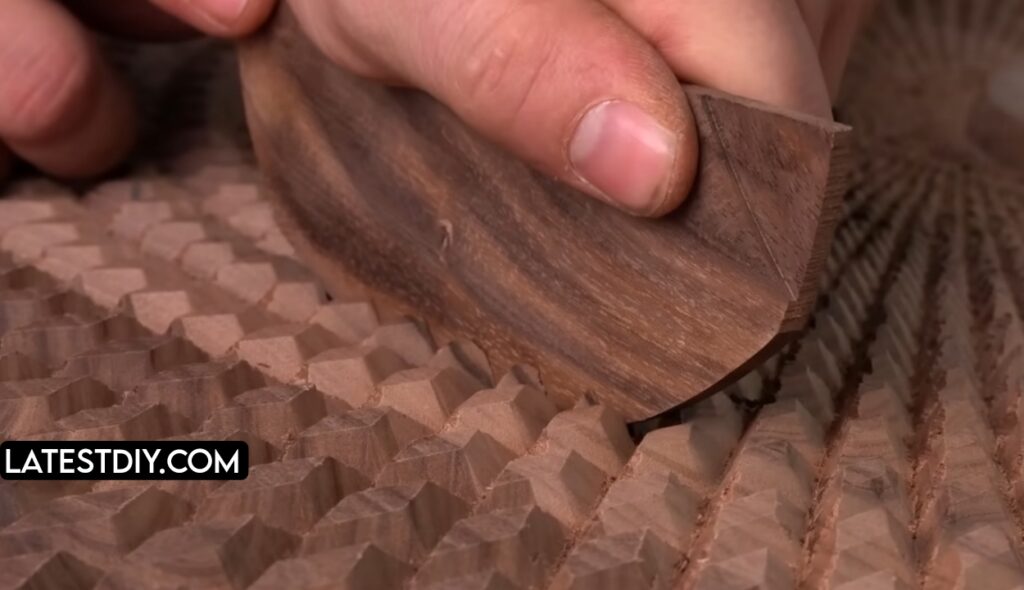
As the carving got deeper, the pattern actually started looking even better.
The geometric design became stronger and more defined.
Epoxy Filling and Surface Finishing
Once the carving was complete, the next step involved filling the pattern with epoxy.
But epoxy work always comes with its own challenges.
Air bubbles quickly became a problem during the first attempt.
To solve this, I mixed a thinner deep-pour epoxy with the tabletop epoxy and flipped the tabletop upside down to allow excess material and bubbles to escape.
Luckily, the plan worked.
The entire surface cured properly.
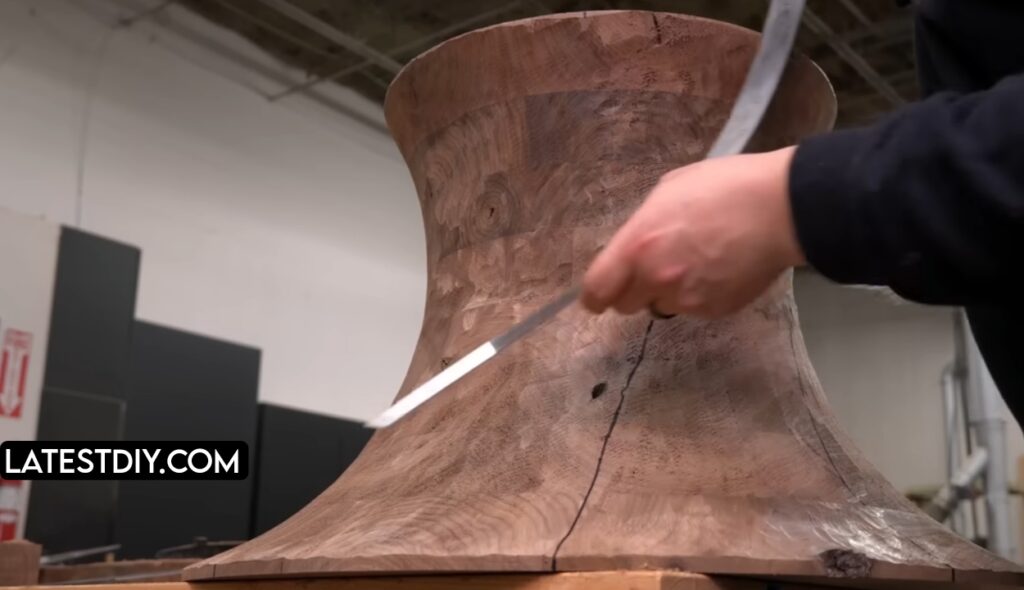
Carving the Base
While the tabletop was curing, it was time to return to the base.
Using a turbo plane carving tool, I started shaping the walnut into a flowing curved structure.
Surprisingly, the rough carving only took about an hour and a half.
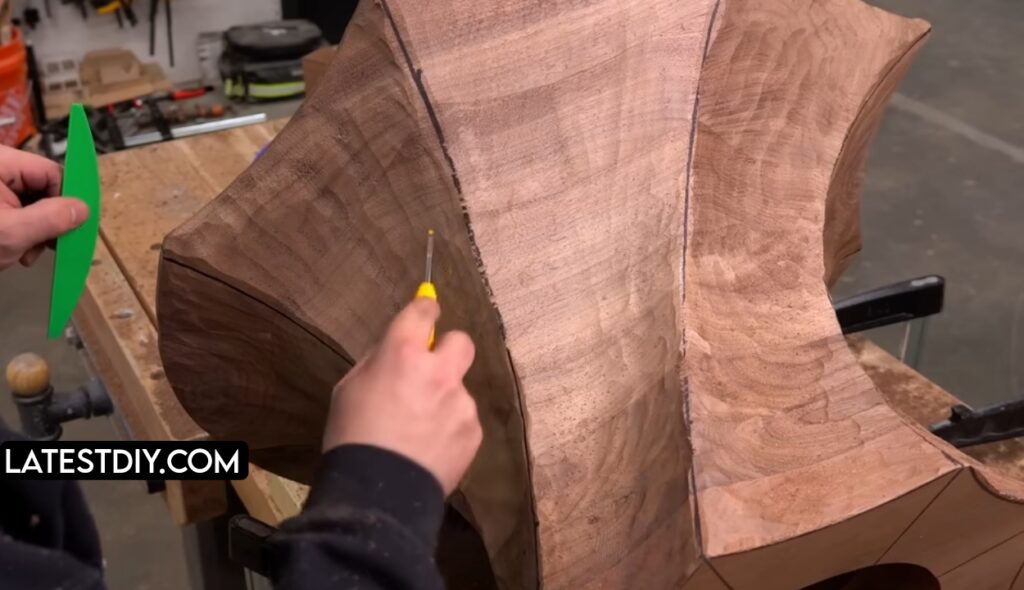
But the design did not stop there.
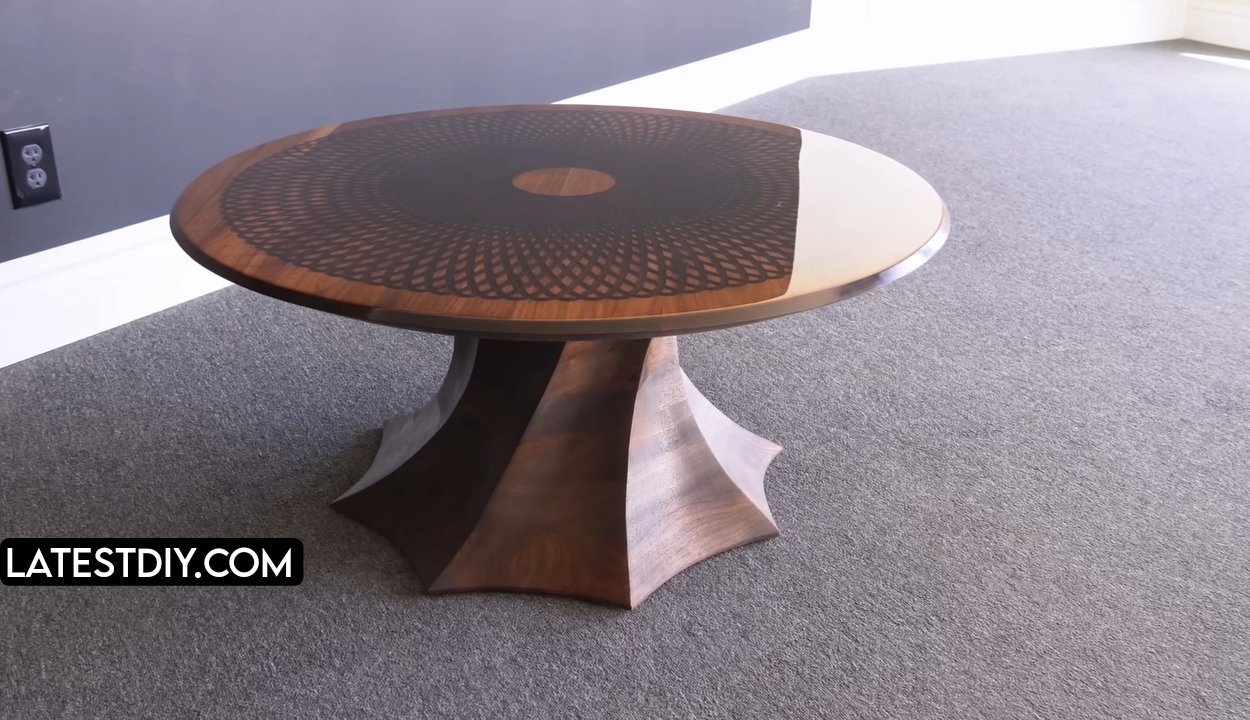
To match the motion of the spyroraph pattern on the tabletop, I carved spiral-like facets into the base to create a sense of movement.
Final Sanding and Finishing
Once all carving was complete, the base was sanded smooth and any holes or imperfections were filled.
The tabletop was also sanded flat using a drum sander to compensate for epoxy shrinkage.
Finally, the entire table was finished with stain and high-gloss protection.
Benefits of This Table Design
• Unique spyroraph carving pattern
• Handmade walnut construction
• Custom carved spiral base
• High-gloss tabletop finish
• Geometric pattern that becomes more defined with depth
Drawbacks and Challenges
• Extremely time-consuming process
• Physically demanding carving work
• Alignment issues with the gear system
• Complex epoxy process

Frequently Asked Questions
1. What wood was used for this coffee table?
Rustic walnut boards were used, with clear grain pieces selected for the tabletop.
2. Why use rustic walnut instead of premium boards?
Rustic walnut costs significantly less while still allowing clear grain pieces to be selected.
3. What tool carved the pattern?
A router attached to a giant spyroraph gear system.
4. How long did the carving process take?
Around seven hours of carving passes.
5. How many passes were required?
At least 52 passes were required to complete the carving pattern.
6. Was a CNC machine used?
No, the pattern was created using a mechanical spyroraph system.
7. Why was epoxy used?
Epoxy was used to fill the carved pattern and create a smooth tabletop surface.
8. How was the base carved?
The base was shaped using carving tools like a turbo plane.
9. What finish was applied?
A stain and high-gloss protective finish were applied.
10. Is the table available for purchase?
Yes, the table was listed for purchase through a link in the description.
Conclusion
When the idea of a spyroraph table first appeared, it almost felt like a joke. The concept sounded interesting but also unrealistic.
But step by step, pass by pass, the project slowly turned into something truly unique.
Sometimes the biggest lesson in a project is simply learning to keep moving forward even when you are not sure how things will turn out.
My Opinion
Personally, I think this project proves something important.
Just because you have never done something before does not mean you cannot do it.
Every step of this build involved learning, adjusting, and continuing forward. And in the end, the result became something far more interesting than the original idea.
And honestly, that is what makes woodworking projects like this so exciting.
I’m Shubham, a professional carpenter with 11 years of experience in the craft. I specialize in turning high-quality wood into custom furniture, durable cabinetry, and precise structural work. For me, woodworking isn’t just a job—it’s about building things that last a lifetime
